← База знань Balanset-1A — усі розділи
Лазерний тахометр — найкапризніша й найкрихкіша частина комплекту. Гарна новина: майже всі його проблеми вирішуються за хвилини, коли знаєш, де шукати.
Симптом → причина → усунення
«Помилка тахометра» в програмі, хоча дисплей показує оберти
-
У налаштуваннях F4 встановіть Tacho unevenness = 200. Типове значення невелике, тому нерівномірність міток викликає повідомлення про помилку.
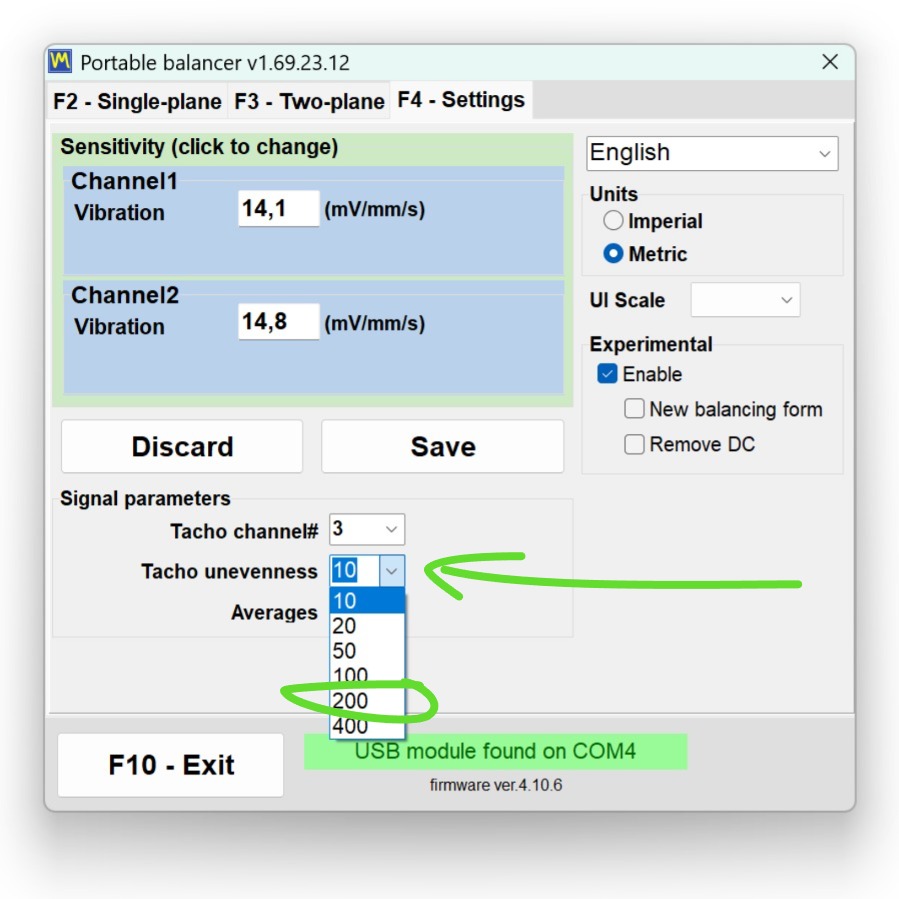
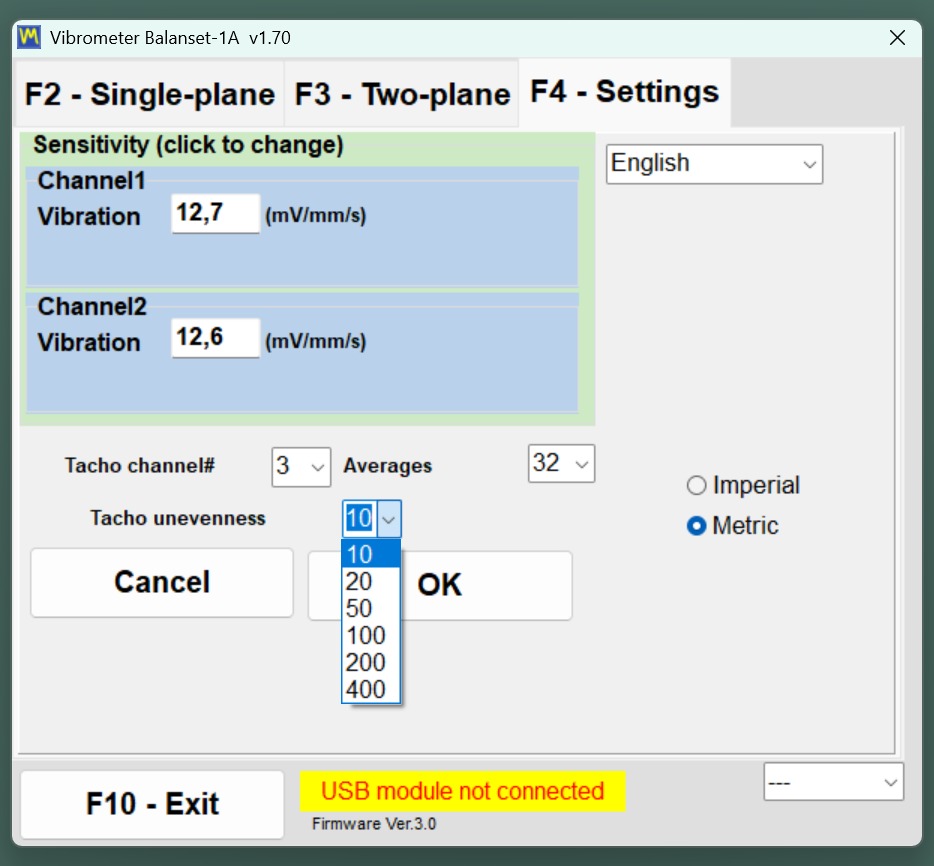
- Якщо це не допомогло, перевірте контакт: кілька разів від’єднайте й під’єднайте роз’єм тахометра X3.
- У новіших версіях програми перевірка тахометра за замовчуванням суворіша — перевірте це налаштування після оновлення.
Оберти показують у 2–4× більше / стрибають
Тахометр бачить зайві «мітки»:
- Блискучі ділянки ротора діють як світловідбивна стрічка. Для перевірки поділіть показання на фактичні оберти. Реальний випадок: прилад показував 8695 за фактичних 2856 об/хв; 8695/2856 = 3, тобто три блискучі плями. Зашліфуйте або заматуйте ці ділянки чи заклейте їх матовою стрічкою;
-
отвори шківа: два отвори = дві мітки; оберти подвоюються (4000 замість 2000). Наклейте мітку на суцільну поверхню, закрийте отвори на шляху променя;
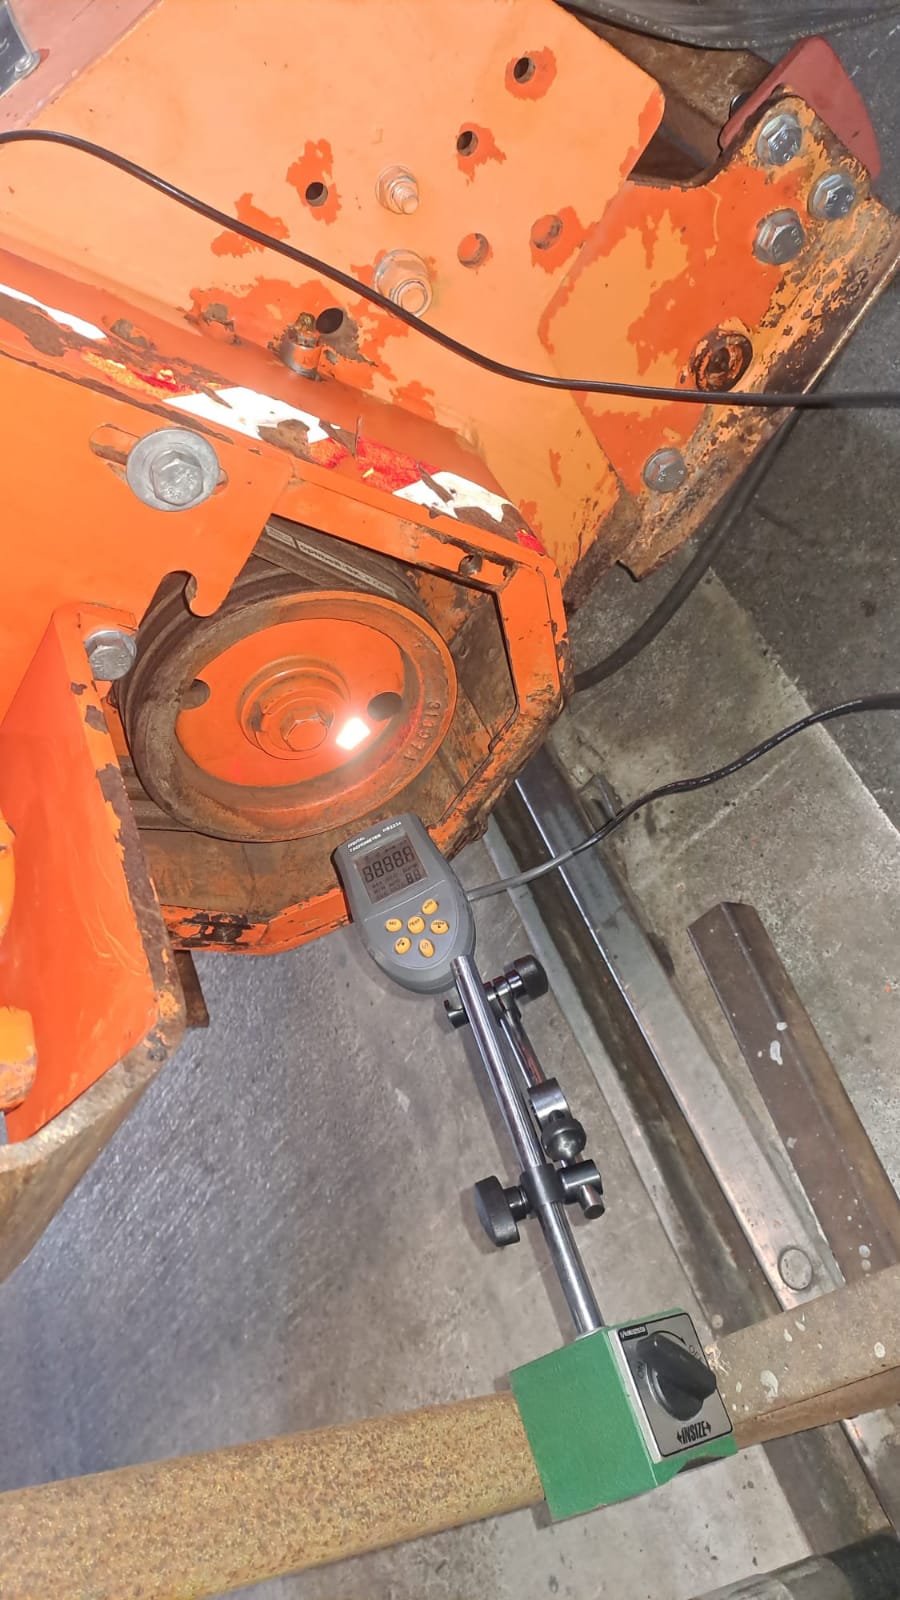
Шків із двома отворами, через який тахометр подвоював оберти. -
Лопаті: мітка на лопаті разом із блискучими сусідніми лопатями змушує тахометр «рахувати лопаті». У реальному випадку він сприйняв чотири лопаті як мітки. Наклейте мітку на маточину або вал;
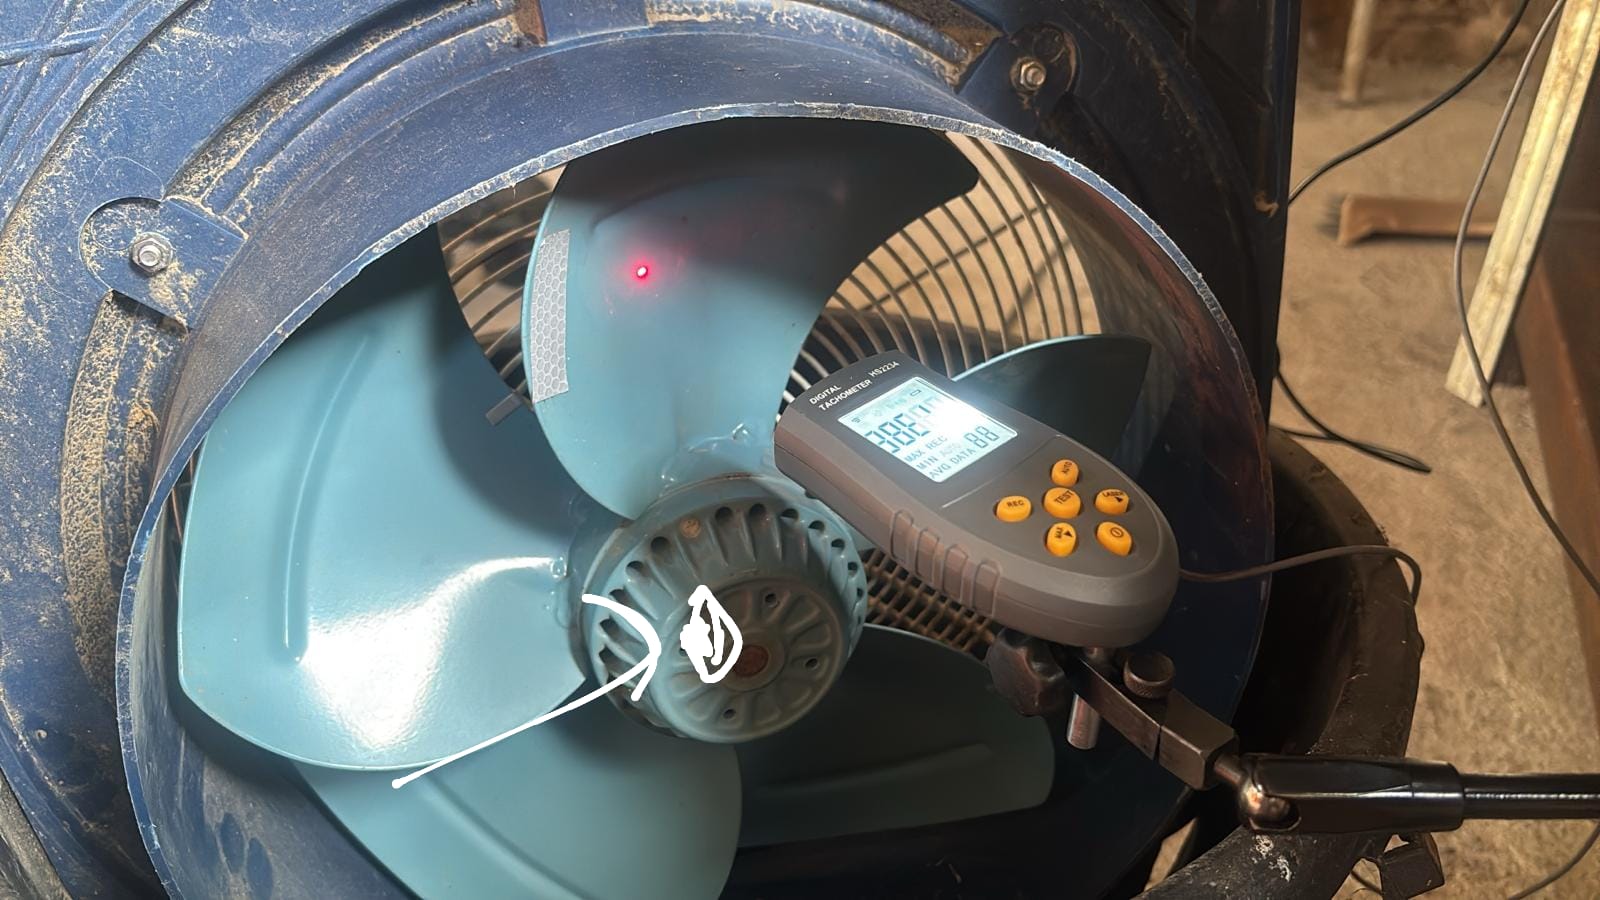
Мітка на лопаті вентилятора — перенесіть її на маточину. - зварні шви й кромки теж блищать — зсуньте точку прицілювання.
Сонце: тахометр «сліпне» надворі
Класика польової роботи. Яскраве світло заливає фотоелемент.
-
Затініть тахометр і мітку: підійде шматок картону, стілець із накинутою тканиною або тент.
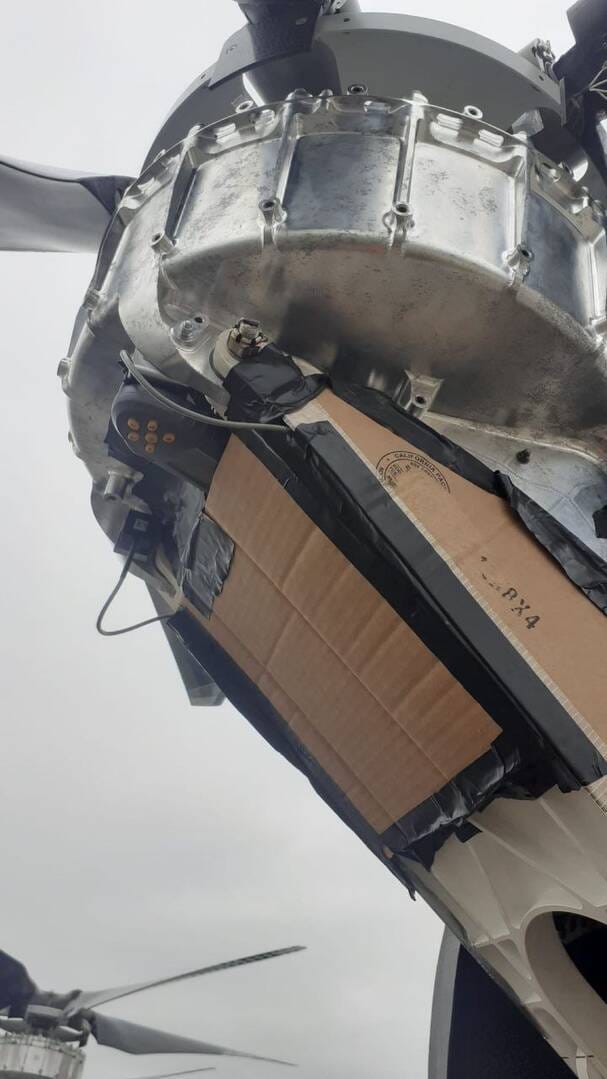
Саморобний козирок із картону та скотчу прямо на машині. -
Роздрукуйте 3D-козирок (кожух): моделі ver2.stl / ver3.stl є на vibromera.eu (wp-content/ver3.stl, тема форуму «Tachometer sunshade light shield 3D print model»).
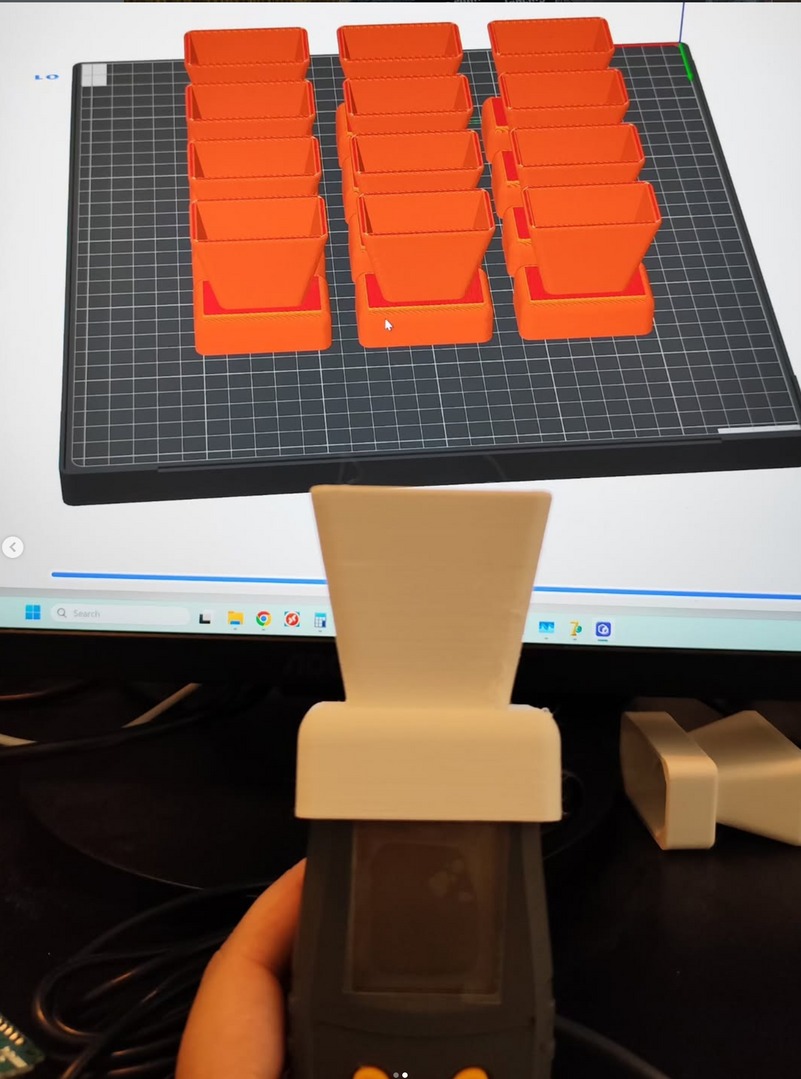
3D-друкований козирок, встановлений на тахометрі. 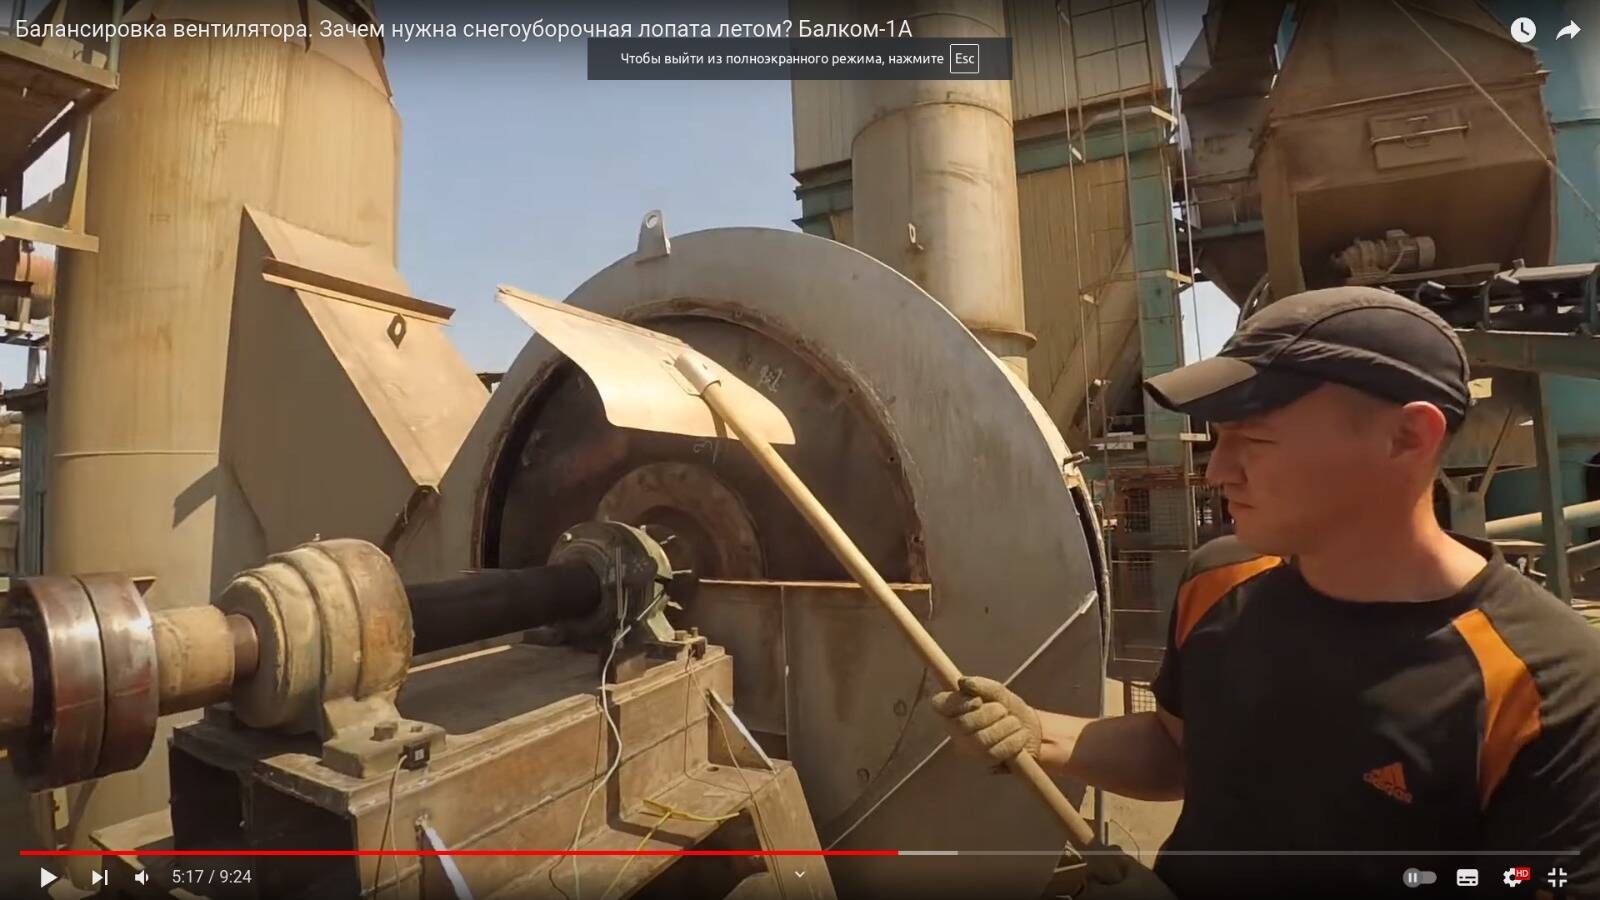
Саморобне затінення в польових умовах. - Змінюйте кут і відстань до мітки — невеликий кут зменшує відблиски.
- Мітка має бути 10–15 мм і міцно приклеєна.
Дисплей тахометра показує оберти, а програма нічого не отримує
- Перевірте роз'єм X3 (перевстроміть).
- Оновіть програму та прошивку (у старих версіях були помилки передачі).
- Якщо світлодіод на платі блока гасне під час ворушіння кабелю USB або тахометра, це свідчить про поганий контакт у роз’ємі чи всередині блока. Це гарантійний випадок; зверніться до підтримки.
Тахометр працює 10 секунд, потім “замерзає” на одному значенні
Відомий апаратний дефект — тахометр замінюють за гарантією.
Після падіння зовсім не рахує оберти
Тахометр крихкий. Після падіння зазвичай потрібна заміна. Розбирати корпус немає сенсу — живлення йде через кабель, регульованих користувачем деталей всередині немає.
Правила для мітки
- Мітка — шматок світловідбивної стрічки з комплекту розміром приблизно 10–15 мм.
- Наклейте мітку на маточину або вал, на чисту суху поверхню, а не на лопать.
- На роторі має бути одна мітка. Переконайтеся, що на шляху променя немає інших світловідбивних предметів.
- Не переклеюйте мітку і не переміщуйте тахометр між прогонами однієї серії — нуль фази зміщується, і вся серія марна.
- Тахометр завжди цілиться в одну й ту саму точку кола.
- Якщо стрічка закінчилася, тимчасово підійде будь-яка світловідбивна стрічка, зокрема зі сигнального жилета. Проте комплектна стрічка надійніша.
Перевірка тахометра на стенді
Якщо є сумніви, перевірте тахометр на настільному точилі або дрилі з наклеєною міткою, на відомих обертах — не на машині з лопатями: на лопатях пропуски й зайві спрацьовування спотворюють справжню картину.
Завади від частотного перетворювача
Незаземлений частотний перетворювач може наводити перешкоди на кабелі тахометра й датчиків: оберти стрибають, сигнал стає зашумленим. Заземліть перетворювач, встановіть феритові кільця на кабелі, використовуйте фільтри та прокладайте кабелі подалі від силових ліній.

