Rotor Balancing on Lathes: A Cost-Effective Solution for Improving Product Quality
In modern manufacturing, where product quality is of utmost importance, rotor balancing becomes an essential part of the technological process. However, purchasing specialized balancing equipment can be costly for small and medium-sized enterprises. In this article, we explore the possibility of using lathes for rotor balancing, which can significantly reduce equipment costs and improve production efficiency.
The Lathe as a Tool for Balancing
The lathe, due to its design and functionality, can be successfully used for balancing rotors of various types and sizes. The main advantage of this approach is cost savings, as there is no need to purchase expensive specialized equipment. Additionally, using a lathe allows for balancing to be carried out directly during the rotor’s manufacturing process, which shortens production time and improves product quality.
Preparation for Balancing
Before starting the balancing process, several preparatory steps must be taken:
- Choosing the appropriate lathe: The lathe should have sufficient rigidity and precision to ensure reliable rotor mounting and accurate vibration measurements.
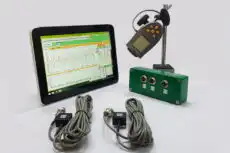
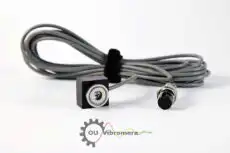
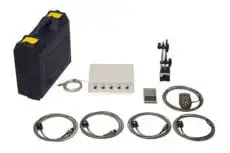
- Installing the measurement system: To measure rotor vibration on the lathe, a portable balancer such as the Balanset-1A can be used. It includes vibration sensors, a tachometer, and software for data analysis and corrective mass calculation.
- Dealing with the spindle’s own unbalance: You do not have to balance the lathe spindle itself. Run the lathe with the chuck alone (rotor removed) and record the vibration vector: that is the baseline contributed by the spindle and chuck. If it is a significant fraction of the rotor reading, either subtract it, or — better — use the 180° index run (the “Mandrel eccentricity elimination” function, “F7 - Run Ecc”), which automatically separates everything that does not rotate with the rotor.
- Matching the rotor to the machine, not to the spindle: What matters is that the rotor’s unbalance force produces a measurable response on the bearing housings. A heavy, rigid lathe responds very little per gram of unbalance, so on a very light rotor the signal disappears in the noise, while a very heavy rotor may exceed the rated load of the chuck or the bearings. In practice, check that a properly sized trial weight gives a clean, repeatable amplitude and phase change before you trust any influence coefficient.
- Checking the runout of the rubber cover before balancing: On a rubberized shaft, mass unbalance and geometric runout of the covering are two different defects. Balancing cancels the 1× force; it cannot make an eccentric or oval cover round. Set a dial indicator against the covered surface and turn the shaft by hand: if the total indicated runout exceeds the product tolerance, grind or turn the cover concentric first — on the same lathe — and only then balance. A shaft that is balanced but still runs out will keep producing gauge bands, streaks and nip-pressure variation no matter how low the vibration reading gets.
In this article, I will detail our experience and methodology in dynamically balancing rubberized shafts on a lathe machine – a solution that, admittedly, I was initially skeptical of due to the inherent rigidity and substantial weight of such machinery. Surprisingly, the operation was seamlessly executed, achieving the G 6.3 balance quality grade (ISO 21940-11, formerly ISO 1940-1).
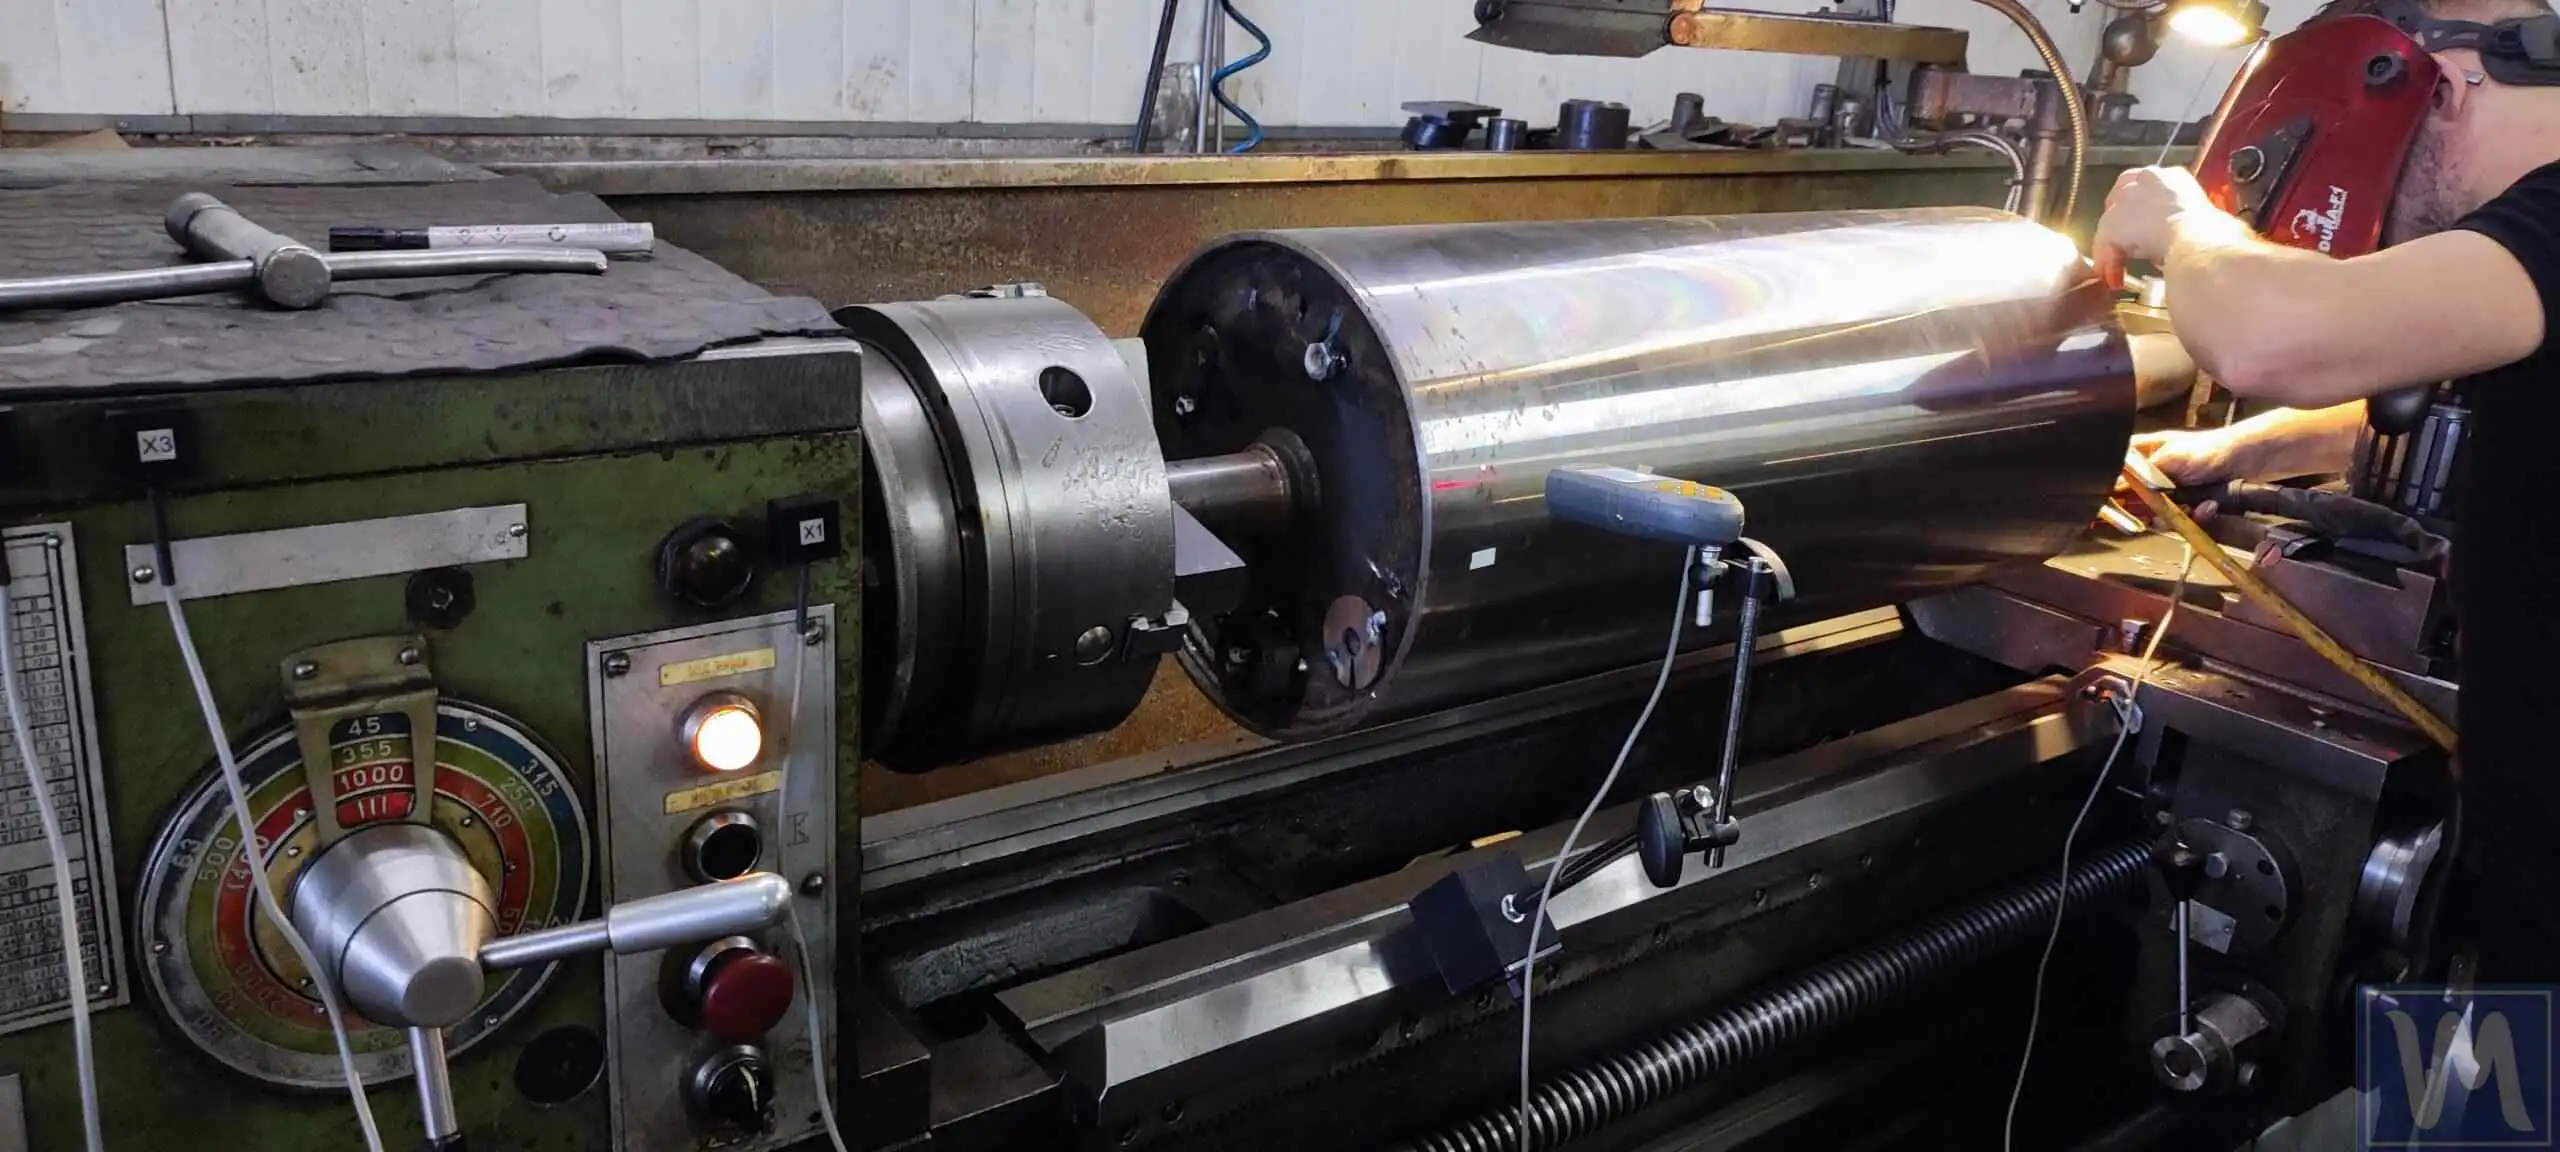
Rotor Balancing Process on a Lathe in theory
The rotor balancing process on a lathe involves the following steps:
Securing the Rotor
The rotor is securely mounted in the lathe chuck or on centers to ensure stability during the balancing process.
Installing Sensors
Fit one vibration sensor per correction plane — one on the headstock bearing housing and one on the tailstock or steady-rest housing — radially, as close to the bearing as possible, on a clean machined metal surface via a magnetic base. Do not mount sensors on the lathe bed, the apron or a guard: the 1× signal there is attenuated and dominated by the structure. Stick the reflective tape on a metal face (the shaft end or the chuck), not on the rubber covering, and aim the laser tachometer perpendicular to it.
Measuring Initial Vibration
The initial vibration level is measured at the speed you will use for the whole job. All runs — Run 0, the trial runs and the trim run — must be made at the same speed, because the influence coefficients are only valid for the speed at which they were measured.
Accounting for Eccentricity (immediately after Run 0)
Fixture and mandrel eccentricity adds a vector to the Run 0 reading that is not unbalance, and correcting for it would be wrong. Deal with it before the trial weight, not afterwards: tick the “Mandrel eccentricity elimination” checkbox in the Balanset-1A software, complete Run 0, then rotate the rotor 180° in the fixture and press “F7 - Run Ecc”. The software takes the vector half-sum as the eccentricity and the vector half-difference as the true unbalance, and only then unlocks the trial run. Doing this after the correction weights are already welded on means recalculating and redoing them.
How big should a trial weight be?
A safe starting point is a weight whose centrifugal force stays within 5–10% of the rotor weight. As a formula:
mtrial = k · M · g / (R · ω²), k = 0.05–0.10
where M is the rotor mass (kg), g = 9.81 m/s², R is the mounting radius of the weight (m), and ω = 2π·RPM/60 (rad/s). Example: a 50 kg rotor at 3,000 rpm with the weight at R = 0.2 m gives m ≈ 0.07·50·9.81/(0.2·314²) ≈ 1.7 g — grams, not hundreds of grams. That looks surprisingly small for a 50 kg rotor, but check the force: at 3,000 rpm those 1.7 g already pull F = m·R·ω² ≈ 34 N — about 7% of the rotor’s weight. Starting small is the point: stepping up is cheap, while an oversized weight is a real load on bearings and welds. The same force check works in reverse for any weight you are about to bolt on.
You don’t have to compute this by hand: the Balanset software includes a First Trial Weight Estimator that recommends both the mass and the starting angle from your rotor data, and a Bump Test to check that you are not working near a natural frequency.
A good trial weight changes the reading by at least 20–30% in amplitude or 20–30° in phase. If the response is smaller, increase the weight stepwise — never jump straight to a heavy weight “to see something happen.”
Installing a Trial Weight
A trial weight of known mass is installed on the rotor, and the vibration is measured again. For two-plane balancing this is done in each plane in turn — a trial run with the weight in plane 1 (Run 1), then a trial run with the weight in plane 2 (Run 2) — so the software can measure the influence of each correction plane separately.
Calculating Corrective Masses
The Balanset-1A software analyzes the measurement results and calculates the necessary corrective masses and their placement angles.
Correcting Rotor Mass
Depending on the rotor’s design and the lathe’s capabilities, mass correction can be performed by drilling, milling, welding, or other methods.
Balancing Verification
After making corrections, a control vibration measurement is conducted. The process is repeated if necessary until the required balance level is achieved.
Dynamic Balancing in Practice
- Rotation Frequency: Typically, the working rotation speed of these shafts ranges between 300 to 500 revolutions per minute (rpm). In this particular case, we carried out the balancing at 550 rpm.
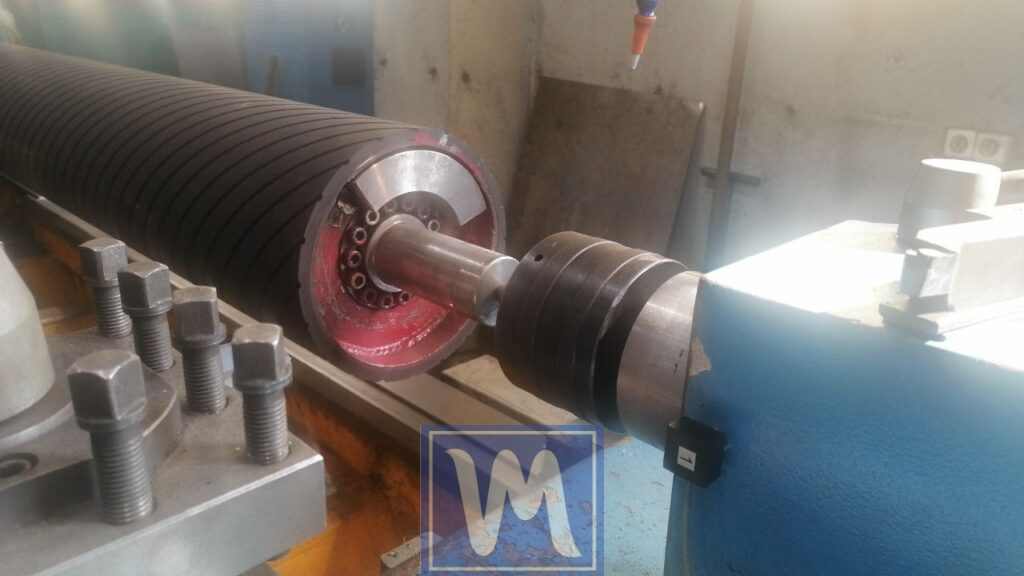
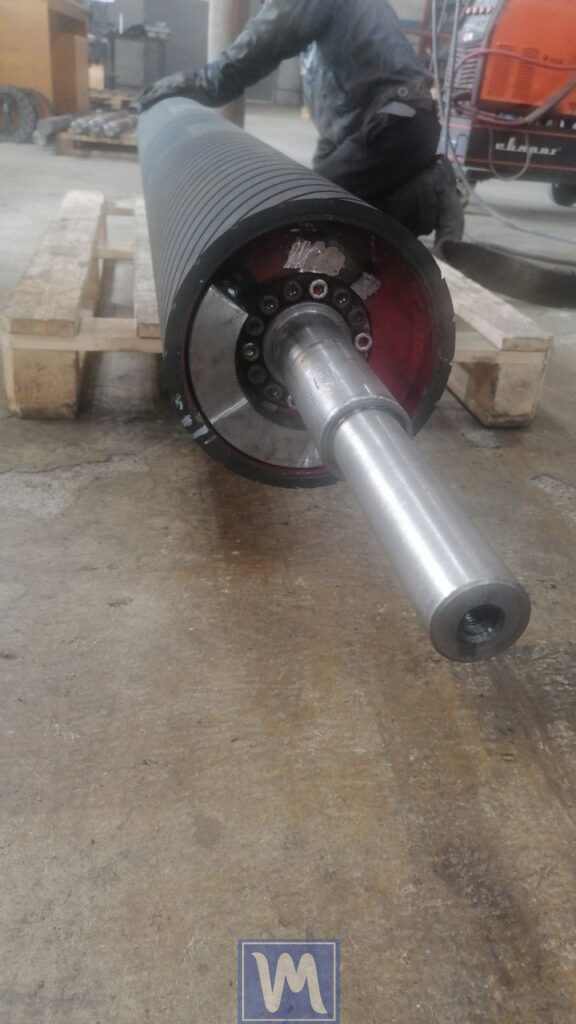
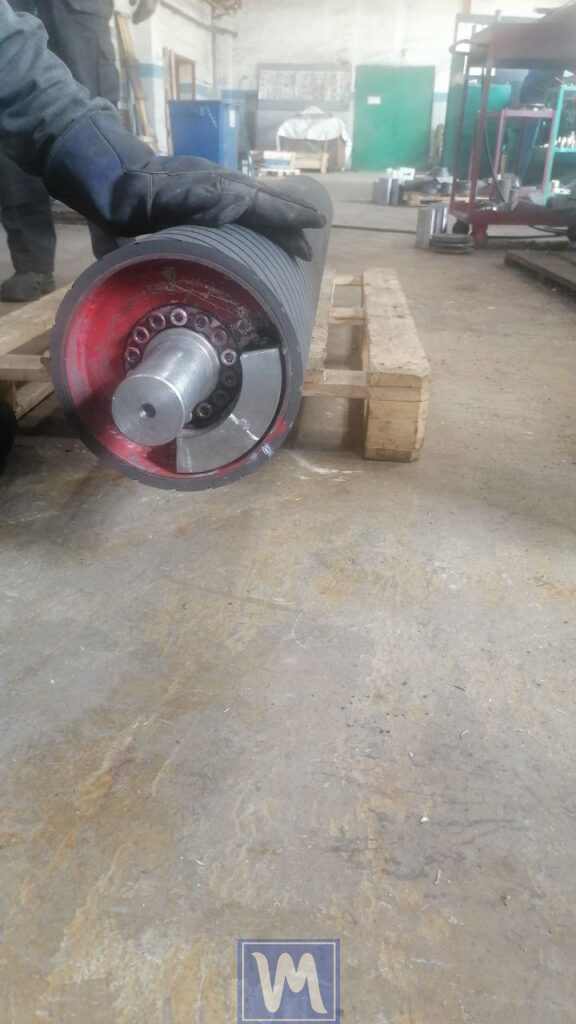
- Setup: The rubberized shaft was mounted on the lathe machine, followed by the strategic placement of sensors, as depicted in the accompanying photographs.

On-Site Dynamic Balancing of Rubberized Shafts Using a Lathe Machine
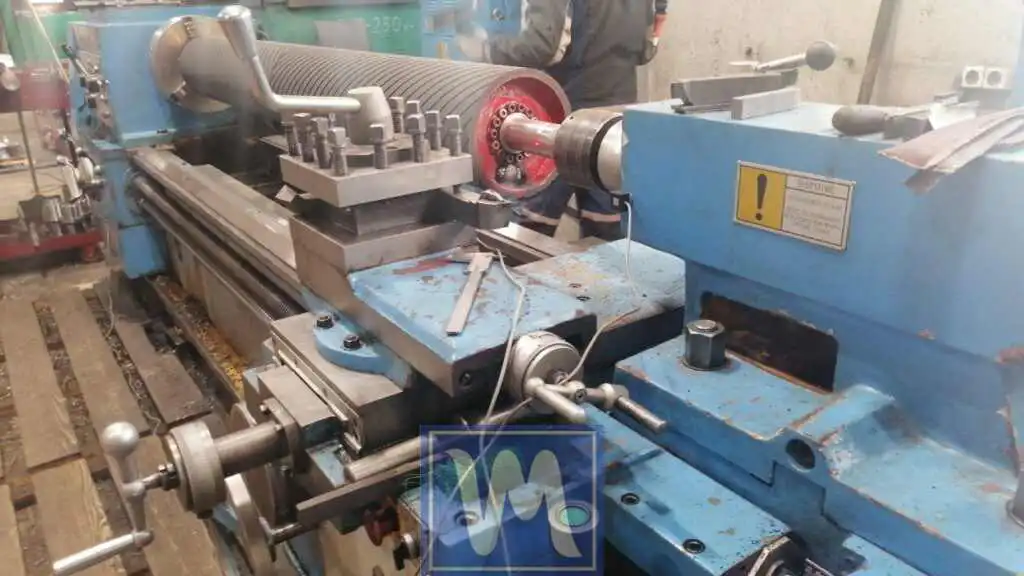
Dynamic Balancing of Rubberized Shafts
- Initial Vibration Readings: Before balancing, the initial vibration readings stood at 9 mm/s and 17 mm/s.
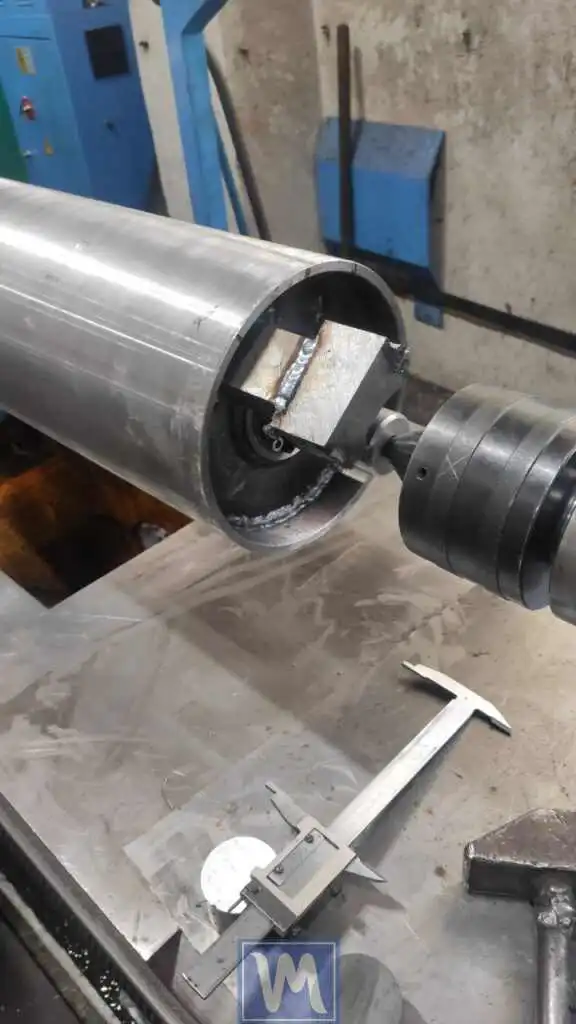
- Trial Runs: A two-plane job needs a trial run in each plane in turn — Run 1 with the weight in plane 1, then Run 2 with the weight in plane 2. A trial weight of 340 grams was welded on; it altered the vibration and phase readings by roughly 10%. Treat such a response as a bare minimum: for a clear, confident measurement we normally aim for a trial weight that shifts the vibration vector by 25–50%, but a heavy, rigid lathe responds very little per gram of trial mass.
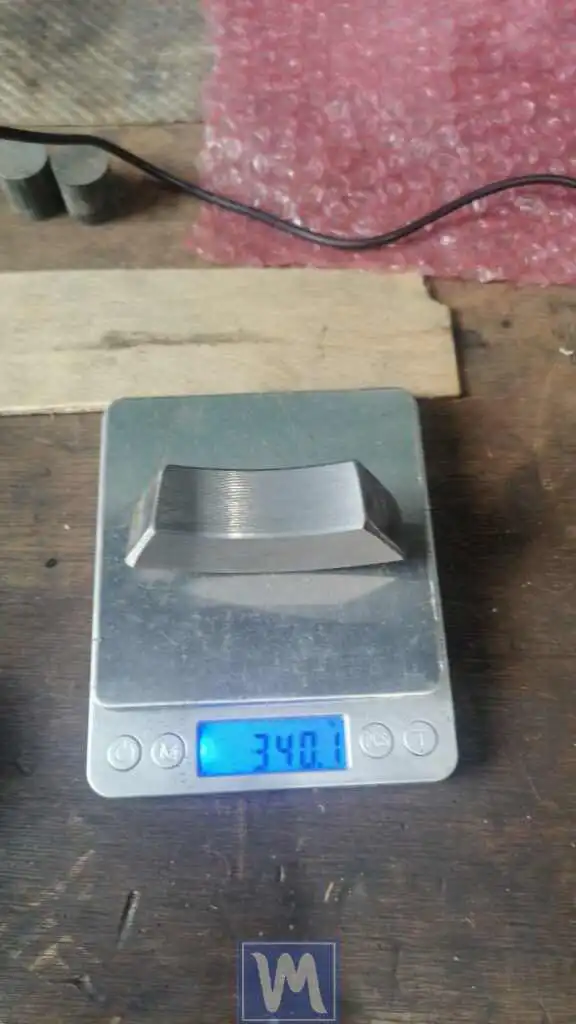
- Balancing Adjustments: Post the trial runs with the trial weight, our Balanset-1A instrument indicated the need for the addition of 3100 grams on one side of the shaft and 4300 grams on the other, corresponding to corrections in two planes. After these adjustments, vibration levels decreased to 2 mm/s and 4 mm/s.
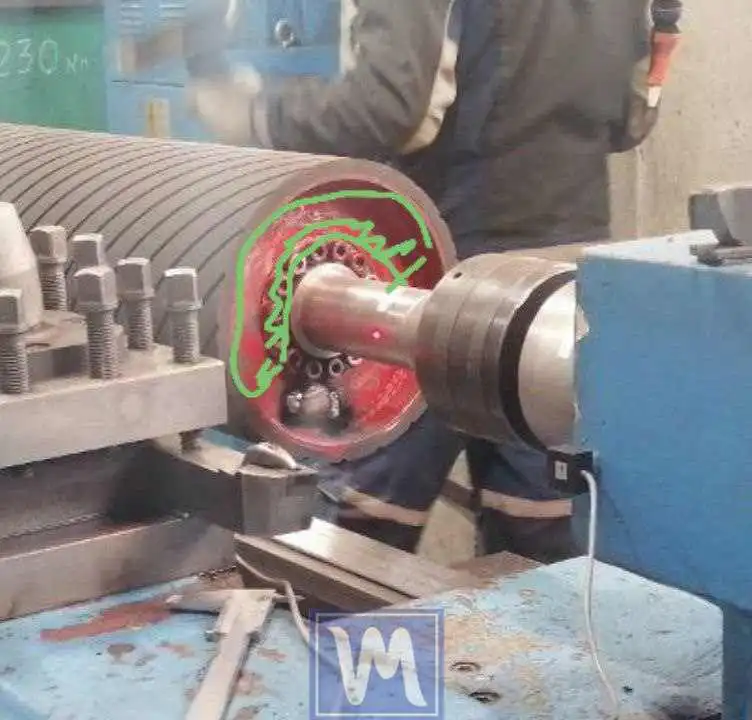
On-Site Dynamic Balancing of Rubberized Shafts Using a Lathe Machine
On-Site Dynamic Balancing of Rubberized Shafts Using a Lathe Machine
- Fine-tuning: To further optimize results, we proceeded to add weights of 400 grams and 700 grams. Subsequently, another round of fine-tuning was executed by adding 200 grams and 400 grams. Due to spatial constraints, the weights were welded atop one another. Ultimately, these temporary weights were replaced with precision-cut, aesthetically pleasing counterweights crafted specifically for this shaft. The final vibration readings were an impressive 0.1 mm/s in both planes (a rounded figure — below 1 mm/s the instrument itself displays readings to three decimal places).
On-Site Dynamic Balancing of Rubberized Shafts Using a Lathe Machine
On-Site Dynamic Balancing of Rubberized Shafts Using a Lathe Machine
On-Site Dynamic Balancing of Rubberized Shafts Using a Lathe Machine




Advantages of Rotor Balancing on Lathes
Cost-Effectiveness
Using a lathe for balancing avoids the expense of purchasing specialized balancing equipment.
Convenience
Balancing can be performed directly during the rotor’s manufacturing process, reducing production time.
High Quality
Modern portable balancers, such as the Balanset-1A, provide high balancing accuracy, enabling low vibration levels and improved product quality.
Conclusion
Rotor balancing on lathes is an effective and economical solution for businesses seeking to improve product quality and reduce production costs. The use of portable balancers like the Balanset-1A makes this process simple and accessible, even for small workshops.
Important Reminders
- To achieve the best results, it is recommended to use high-quality measuring instruments and strictly follow the balancing procedure. You can estimate the permissible residual unbalance for your rotor with our residual unbalance calculator (ISO 1940).
Balancing rotors on lathes is a step towards the future of your production, paying off through improved product quality, reduced costs, and increased competitiveness of your business.

Nikolai Shelkovenko
Nikolai Shelkovenko is a vibration analysis engineer and the founder and CEO of Vibromera. For more than 15 years he has balanced rotating equipment in the field rather than on a test bench: mulchers, industrial fans, crushers, centrifuges, shafts and spindles. That work is what the Balanset instruments grew out of — they were designed as a tool a specialist can carry to the machine and use alone, on site, not as laboratory equipment. Vibromera was founded in 2017 and has been based in Porto, Portugal, since 2023. Development, assembly and support of the Balanset line all happen here. The flagship instrument is the Balanset-1A, a portable analyser for single- and two-plane balancing and for vibration diagnostics. Nikolai is personally involved in customer support, in working through difficult balancing cases and in the development of the software. He works with customers worldwide, in any language.


0 Comments