車床上的轉子平衡:提高產品品質的經濟實惠解決方案
在現代製造業中,產品品質至關重要, 轉子動平衡校正 成為技術流程中不可或缺的一環。然而,購買專用動平衡設備對中小企業而言可能成本高昂。在本文中,我們探討利用車床進行 轉子 動平衡校正的可能性,這能顯著降低設備成本並提升生產效率。
作為平衡工具的車床
車床憑藉其結構和功能,完全可以成功用於對各種類型和尺寸的轉子進行平衡。這種方法的主要優勢在於節省成本,因為無需購買昂貴的專用設備。此外,利用車床還可以在轉子加工過程中直接進行平衡,從而縮短生產週期、提高產品品質。
動平衡校正準備
在開始平衡過程之前,必須採取幾項準備步驟:
- 選擇合適的車床: 車床應具有足夠的剛性和精度,以確保可靠的轉子安裝和準確的振動測量。
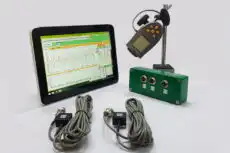
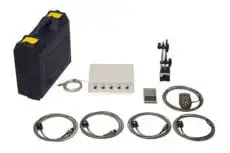
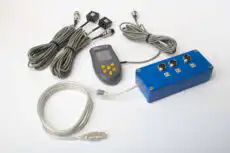
- 安裝測量系統: 為測量轉子 振動 在車床上的振動,可使用如 Balanset-1A 之類的便攜式動平衡機。它包含振動感測器、 轉速計,以及用於資料分析與校正質量計算的軟體。
- 處理主軸自身的不平衡: 你不需要對車床主軸本身進行平衡。只讓車床帶著卡盤空轉(取下轉子)並記錄振動向量:這就是主軸和卡盤所貢獻的基準值。如果它在轉子讀數中佔相當大的比例,可以將其扣除,或者——更好的做法——使用180°索引運轉(即“Mandrel eccentricity elimination”/心軸偏心消除功能,“F7 - Run Ecc”),該功能會自動分離出所有不隨轉子一起旋轉的成分。
- 使轉子與機器相配,而非與主軸相配: 關鍵在於,轉子的不平衡力要能在軸承座上產生可測的響應。笨重剛硬的車床對每克不平衡量的響應很小,因此對非常輕的轉子來說訊號會淹沒在噪音中,而對非常重的轉子,不平衡力又可能超過卡盤或軸承的額定負荷。實際操作中,在信任任何影響係數之前,都應先確認合理大小的試重能帶來清晰、可重複的振幅和相位變化。
- 動平衡前檢查橡膠包覆層的偏擺: 在包膠軸上,質量不平衡與包膠層的幾何跳動是兩種不同的缺陷。平衡校正可以消除1×力,但無法使偏心或橢圓的包膠層變圓。將千分表抵在包膠表面上,用手轉動軸:如果總指示跳動超過產品公差,應先——在同一台車床上——磨削或車削使包膠層同心,然後再進行平衡。一根已經平衡但仍然跳動的軸,無論振動讀數多低,都會持續產生厚度不均、條紋以及夾持壓力波動等問題。
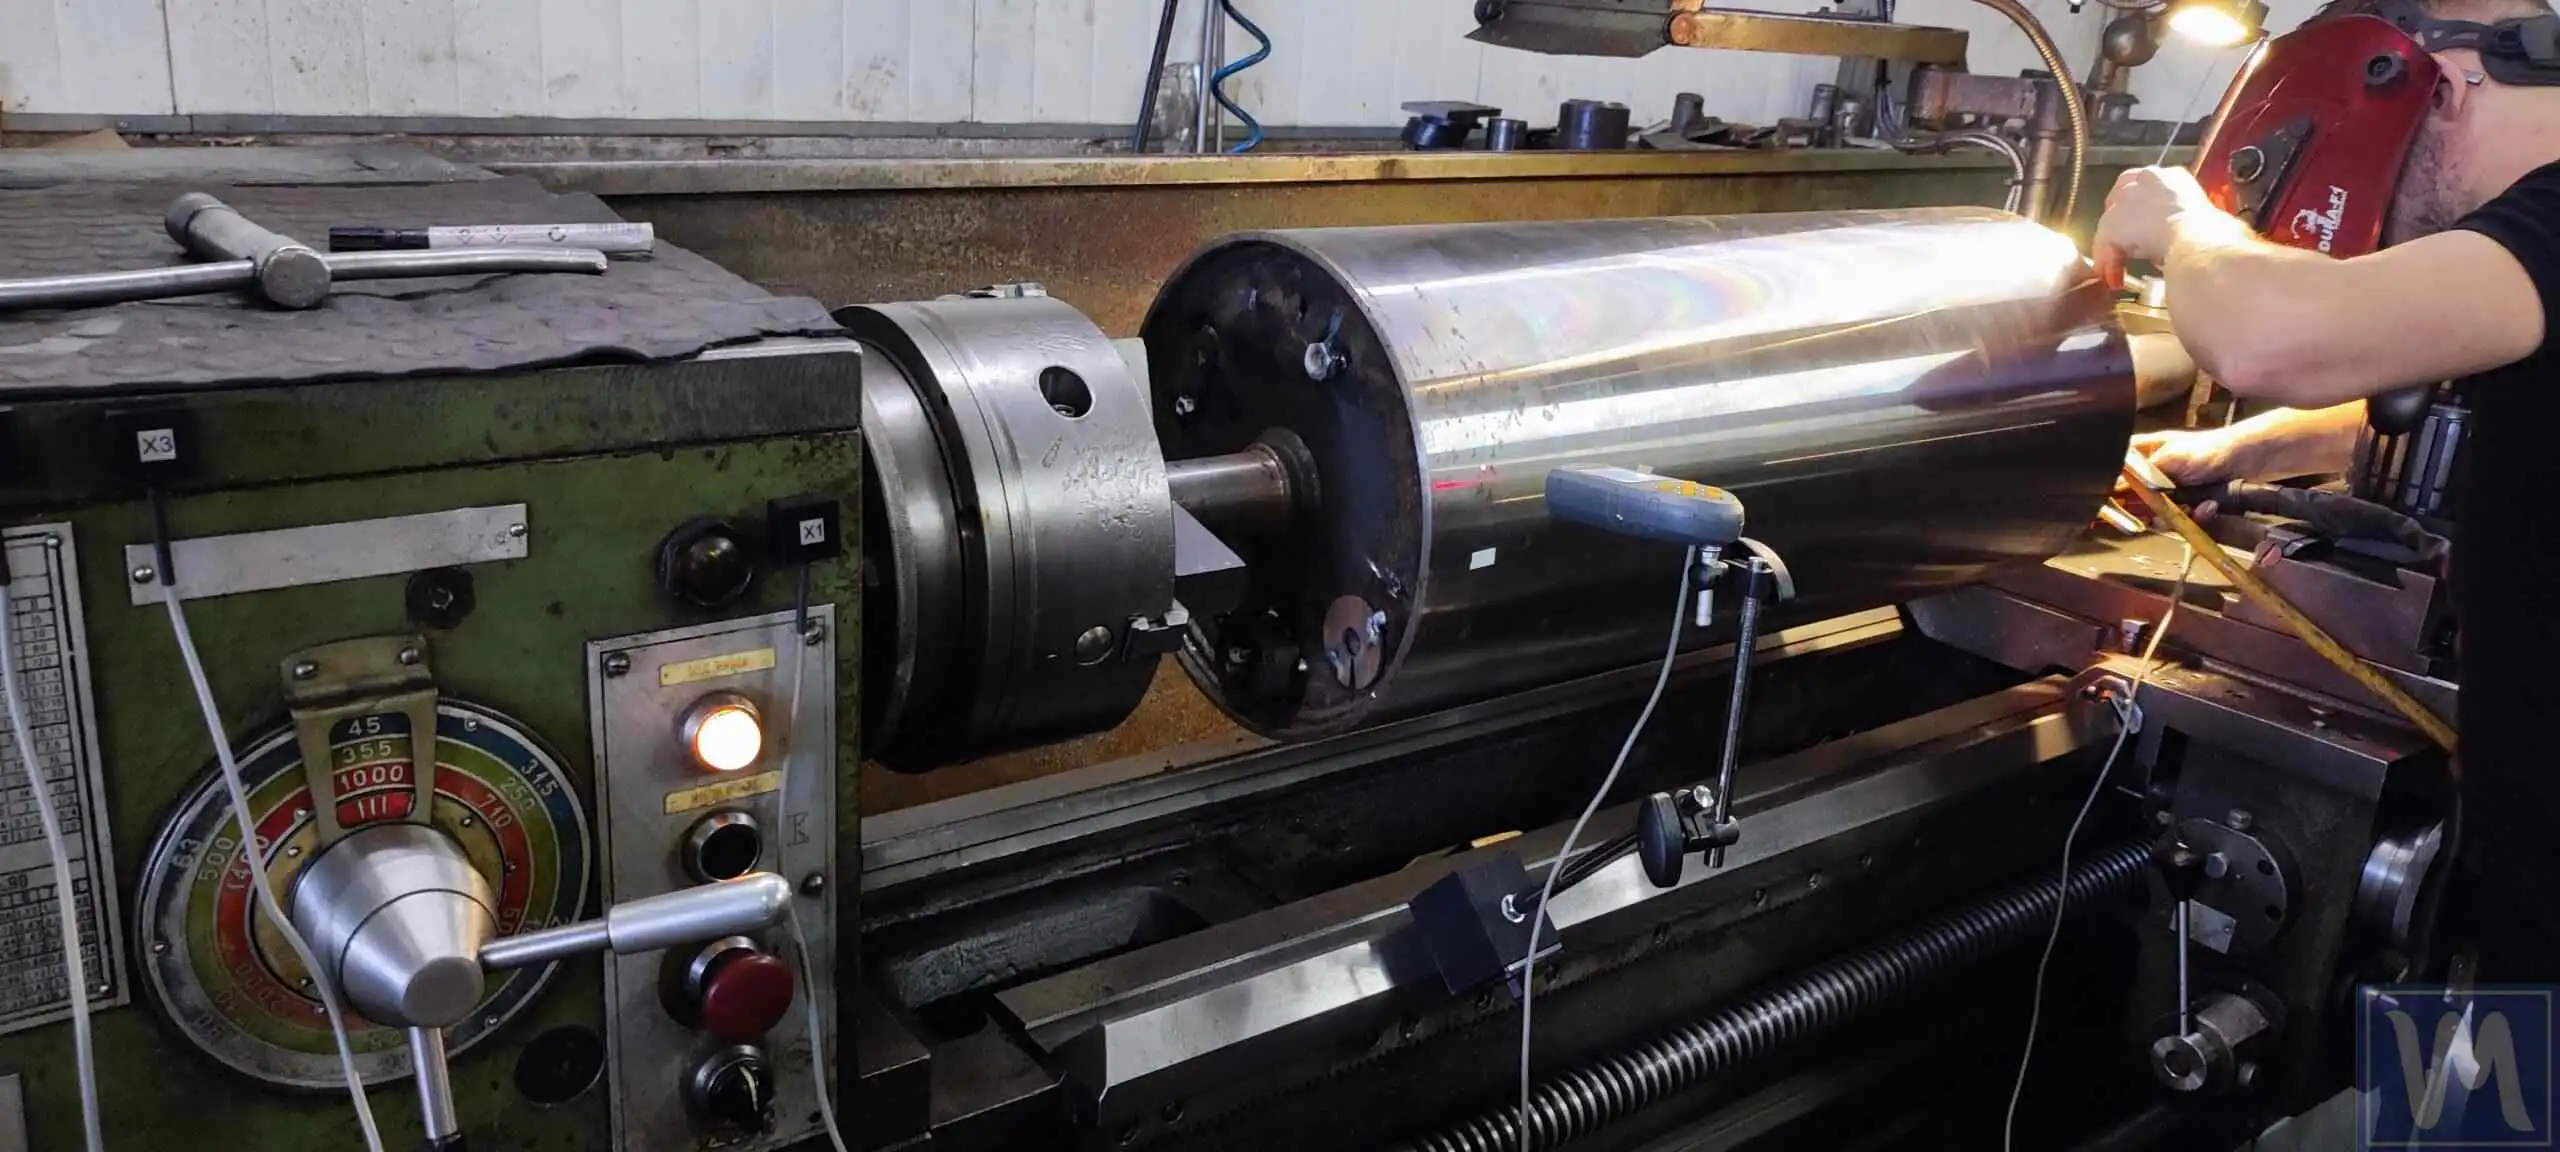
在本文中,我將詳細說明我們在 進行動平衡校正的 在車床上對包膠軸進行動平衡校正——坦白說,由於這類機械本身的剛性與相當可觀的重量,我起初對這個方案持懷疑態度。然而出乎意料的是,這項作業順利完成,達到了G 6.3的平衡品質等級(ISO 21940-11(前身為 ISO 1940-1)).
車床上轉子平衡過程理論
車床上的轉子平衡過程涉及以下步驟:
固定轉子
轉子牢固地安裝在車床卡盤或頂尖上,以確保平衡過程中的穩定性。
安裝感測器
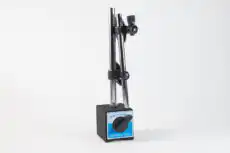
每個校正平面安裝一個振動感測器——一個裝在主軸箱軸承座上,一個裝在尾座或跟刀架座上——沿徑向安裝,盡量靠近軸承,安裝在經過加工的乾淨金屬表面上,用磁性底座固定。不要把感測器裝在床身、溜板箱或防護罩上:那些位置的1×訊號會被衰減,並主要反映結構本身的振動。將 反光膠帶 貼在金屬表面(軸端或夾頭)上,而非橡膠包覆層上,並將雷射轉速計對準其垂直方向。
測量初始振動
初始振動水準需在整個作業將採用的轉速下測量。所有運轉—Run 0、試運轉以及精修運轉—都必須在相同轉速下進行,因為影響係數僅在測量時所用的轉速下才有效。
考慮偏心(緊接在 Run 0 之後)
夾具與心軸 偏心 會在Run 0讀數中疊加一個並非不平衡的向量分量,若對其進行校正將是錯誤的。應在加裝試重之前而非之後處理這一問題:在Balanset-1A軟體中勾選“Mandrel eccentricity elimination”(心軸偏心消除)核取方塊,完成Run 0,然後將轉子在夾具中轉過180°,按下“F7 - Run Ecc”。軟體會將向量的半和視為偏心量,將向量的半差視為真實的不平衡量,之後才會開放試運轉。如果等到校正重塊已經焊接上去之後才這樣處理,就意味著必須重新計算並重做一遍。
試重應該多大?
安全的起始點是選擇一個配重,其 離心力保持在轉子重量的 5–10% 以內。公式如下:
mtrial = k · M · g / (R · ω²), k = 0.05–0.10
其中 M 為轉子質量(kg), g = 9.81 m/s², R 為配重的安裝半徑(m),且 ω = 2π·RPM/60(rad/s)。範例:一個 50 kg 的轉子在 3,000 rpm 下,配重半徑 R = 0.2 m,得出 m ≈ 0.07·50·9.81/(0.2·314²) ≈ 1.7 g — 是克,不是幾百克。對於50 kg的轉子來說,這個數值小得令人意外,但看看力的大小:在3,000 rpm下,這1.7 g已經產生F = m·R·ω² ≈ 34 N的力——約為轉子重量的7%。從小處開始正是關鍵:加大試重成本很低,而試重過大則會給軸承和焊縫帶來實實在在的負荷。同樣的受力核算,反過來對你即將鎖上去的任何重塊也同樣適用。
你不必手動計算:Balanset 軟體內建了 首次試重估算器 根據您的轉子資料,推薦配重質量與起始角度,並 衝擊測試 以確認您並非在自然頻率附近作業。
合適的試重應使讀數變化 振幅至少變化 20–30%,或相位至少變化 20–30°。若反應較小,請逐步增加配重——切勿為了“想看看有什麼變化”而直接使用過重的配重。
安裝試重
A 試重 已知質量的試重安裝在轉子上,再次測量振動。對於雙平面動平衡校正,這一步驟會依序在每個平面進行—先在1號平面加裝試重進行試運轉(Run 1),再在2號平面加裝試重進行試運轉(Run 2)—讓軟體能分別測得每個校正平面的影響。
計算校正質量
Balanset-1A 軟體分析測量結果並計算所需的校正質量及其放置角度。
校正轉子質量
根據轉子的設計和車床的能力,質量校正可以通過鑽孔、銑削、焊接或其他方法進行。
平衡驗證
進行校正後,進行控制振動測量。如有必要,重複該過程,直到達到所需的平衡水平。
動平衡校正實務
- 旋轉頻率: 這類軸的工作轉速通常介於每分鐘300至500轉(rpm)之間。在本案例中,我們是在550 rpm下進行平衡的。
- 設定: 橡膠包覆軸安裝在車床上,隨後策略性地放置感測器,如隨附照片所示。
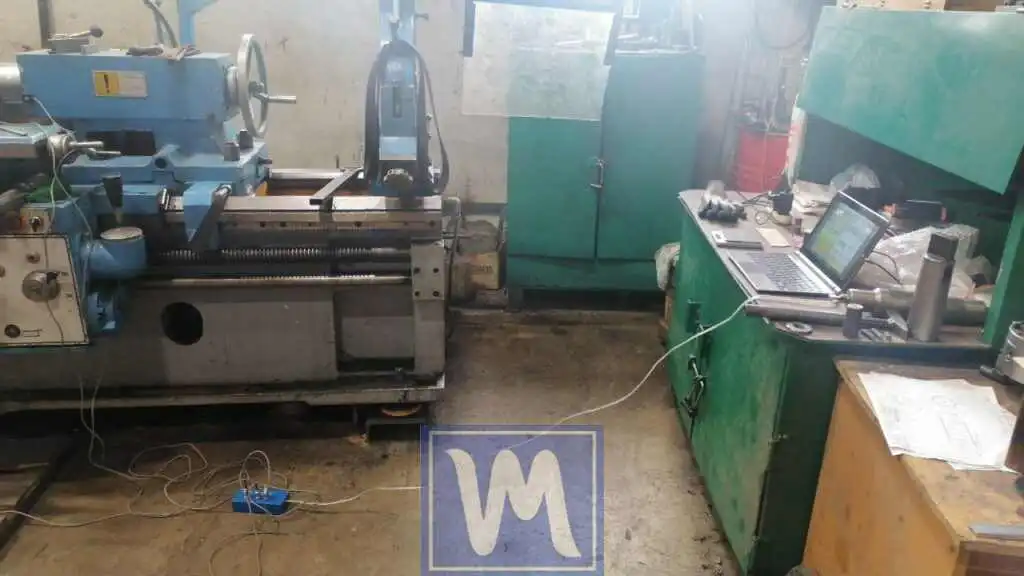
使用車床進行橡膠包覆軸的現場動平衡
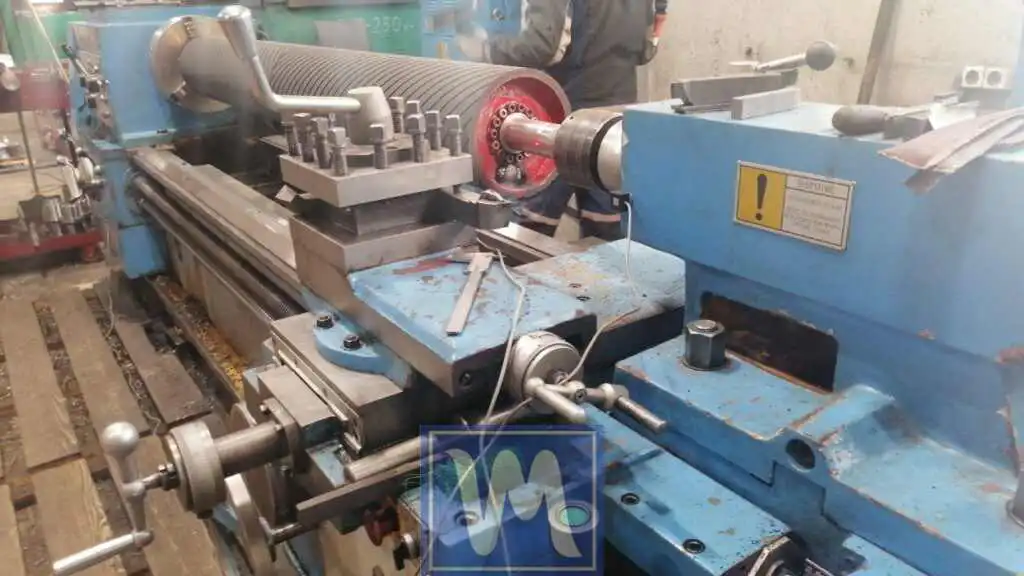
橡膠包覆軸的動平衡校正
- 初始振動讀數: 在動平衡校正前, 初始 振動讀數為 9 mm/s 與 17 mm/s。
- 試運轉: 雙平面作業需要依序在每個平面上進行一次試重運行—先在平面1安裝試重進行Run 1,再在平面2安裝試重進行Run 2。焊接了一個340克的試重;它改變了振動,且 相位 讀數改變約10%。應將這種反應視為最低限度:為了獲得清晰可靠的測量結果,我們通常追求能使振動向量改變25–50%的試重,但笨重、剛性強的車床對每克試重質量的反應非常小。
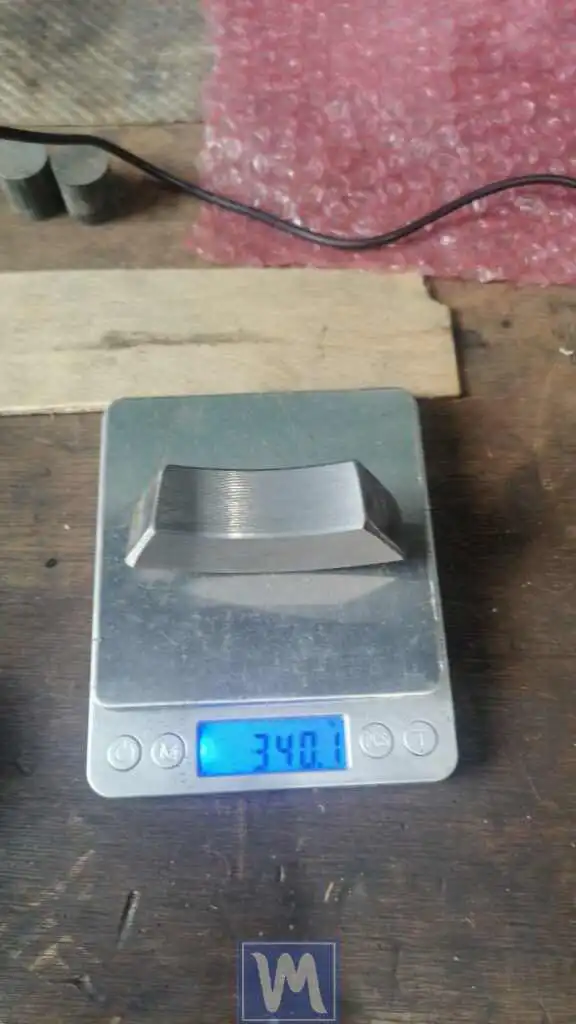
- 平衡調整: 在完成帶試重的試運行後,我們的Balanset-1A儀器顯示需要在軸的一側加裝3100克、另一側加裝4300克,對應的校正位於 兩個校正平面。經過這些調整後,振動水準降至2 mm/s與4 mm/s。
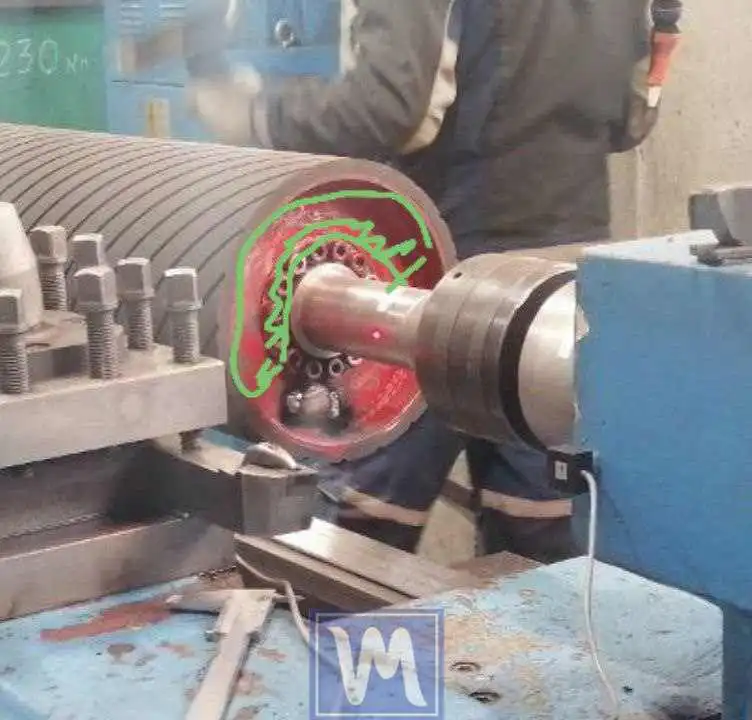
使用車床進行橡膠包覆軸的現場動平衡
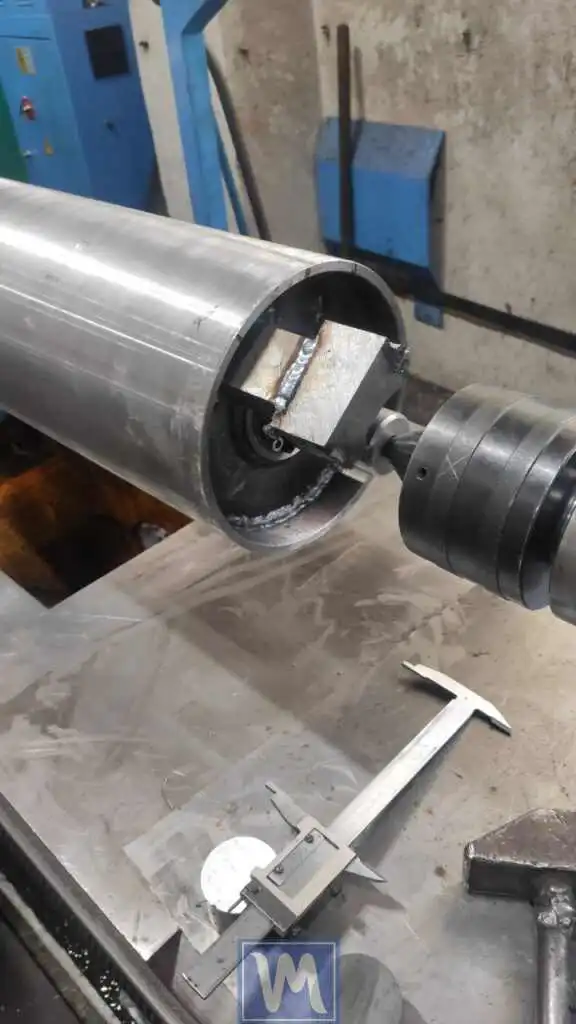
使用車床進行橡膠包覆軸的現場動平衡
- 微調: 為了進一步優化結果,我們接著加裝了400克和700克的重塊。隨後又進行了一輪微調,加裝200克和400克。由於空間限制,這些重塊被逐層焊接在一起。最後,這些臨時重塊被替換為專門為這根軸精密切割、外觀美觀的配重塊。最終兩個平面的振動讀數都達到令人滿意的0.1 mm/s(這是四捨五入後的數值——低於1 mm/s時,儀器本身會顯示到小數點後三位)。
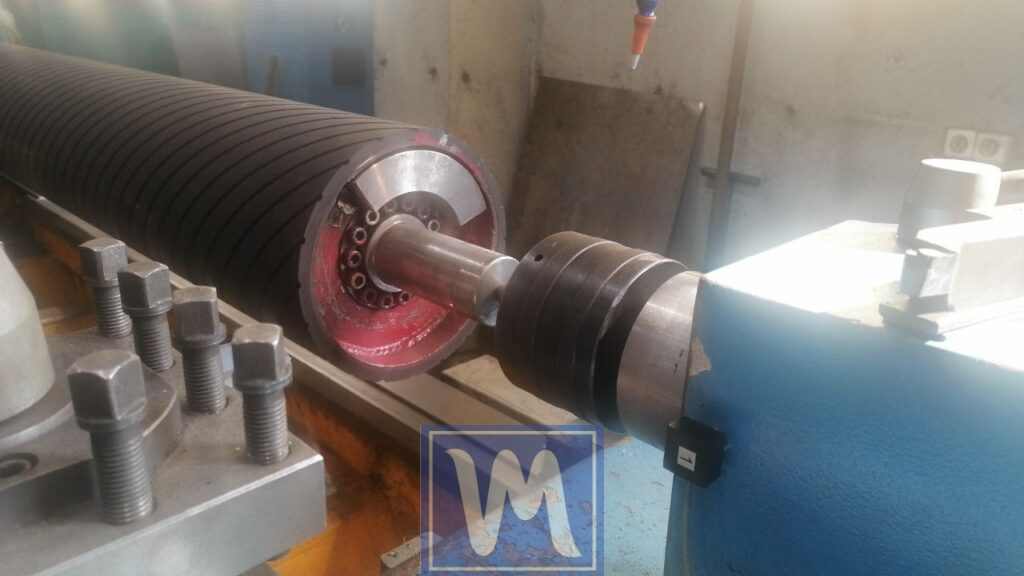
使用車床進行橡膠包覆軸的現場動平衡
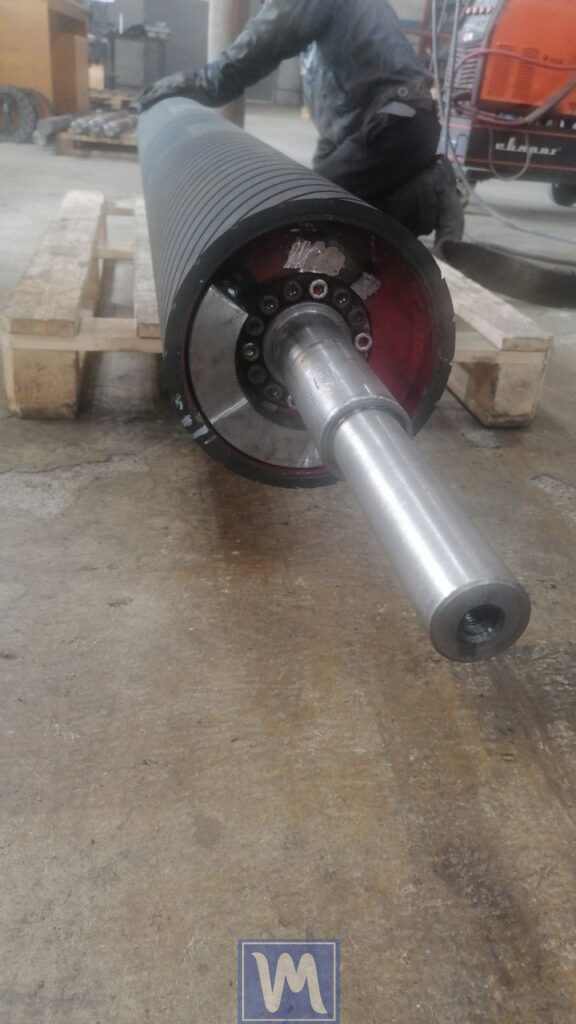
使用車床進行橡膠包覆軸的現場動平衡
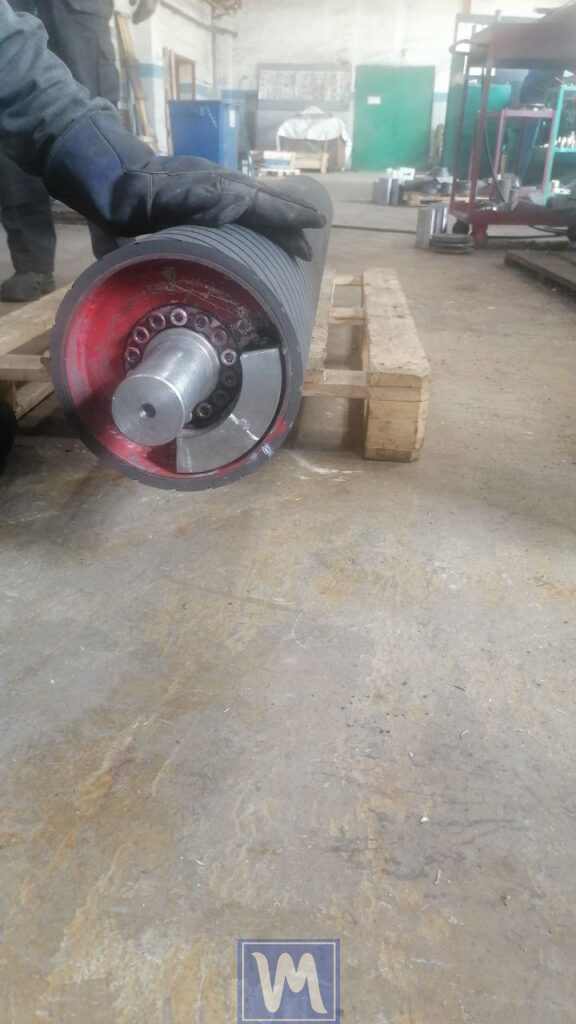
使用車床進行橡膠包覆軸的現場動平衡

在車床上進行轉子動平衡校正的優勢
成本效益
使用車床進行動平衡校正,可避免購買專用動平衡設備的開銷。
便利性
動平衡校正可直接在轉子製造過程中進行,縮短生產時間。
高品質
現代便攜式動平衡機(如 Balanset-1A)提供高精準度的動平衡校正,實現低振動水平並提升產品品質。
結論
在車床上進行轉子動平衡校正是企業提升產品品質、降低生產成本的有效且經濟的解決方案。使用 Balanset-1A 等便攜式動平衡機,使此流程簡便易行,即使是小型車間也能輕鬆應用。
重要提醒
- 為獲得最佳效果,建議使用高品質的測量儀器,並嚴格遵循動平衡校正程序。您可以估算轉子的允許 剩餘不平衡 ,使用我們的 殘餘不平衡計算器 (ISO 1940).
在車床上進行轉子動平衡校正是邁向生產未來的關鍵一步,透過提升產品品質、降低成本並增強企業競爭力,帶來豐碩回報。

Nikolai Shelkovenko
Nikolai Shelkovenko是一名振動分析工程師,也是Vibromera的創辦人兼執行長。 15年多來,他一直在現場——而非在試驗台上——為旋轉設備進行動平衡校正:粉碎機、工業風機、破碎機、離心機、軸與主軸。正是這些實際工作催生了Balanset系列儀器——它們被設計為一種專業人員可以隨身攜帶到機器旁、在現場獨立使用的工具,而非實驗室設備。 Vibromera成立於2017年,自2023年起總部設於葡萄牙波爾圖。Balanset系列產品的研發、組裝與支援均在此完成。旗艦產品是Balanset-1A,一款用於單平面及雙平面動平衡校正與振動診斷的可攜式分析儀。 Nikolai親自參與客戶支援工作,處理各種棘手的動平衡校正案例,並參與軟體開發。他以任何語言為全球客戶提供服務。


0 則迴響