Rotorbalansering på dreiebenker: En kostnadseffektiv løsning for å forbedre produktkvaliteten
I moderne produksjon, der produktkvalitet er av største betydning, Rotorbalansering blir en viktig del av den teknologiske prosessen. Å anskaffe spesialisert balanseringsutstyr kan imidlertid være kostbart for små og mellomstore bedrifter. I denne artikkelen ser vi nærmere på muligheten for å bruke dreiebenker til rotor balansering, noe som kan redusere utstyrskostnadene betydelig og forbedre produksjonseffektiviteten.
Dreiebenken som verktøy for avbalansering
Dreiebenken kan, på grunn av sin design og funksjonalitet, brukes med hell til å balansere rotorer av forskjellige typer og størrelser. Hovedfordelen med denne tilnærmingen er kostnadsbesparelser, siden det ikke er nødvendig å kjøpe dyrt spesialutstyr. I tillegg gjør bruk av en dreiebenk det mulig å utføre balansering direkte under rotorens produksjonsprosess, noe som forkorter produksjonstiden og forbedrer produktkvaliteten.
Forberedelser til balansering
Før balanseringsprosessen starter, må flere forberedende skritt tas:
- Velge riktig dreiebenk: Dreiebenken bør ha tilstrekkelig stivhet og presisjon for å sikre pålitelig rotormontasje og nøyaktige vibrasjonsmålinger.
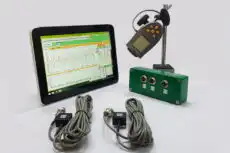
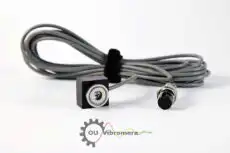
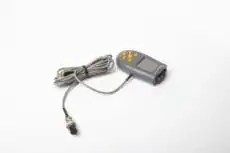
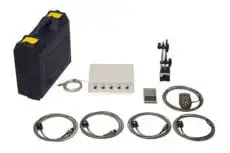
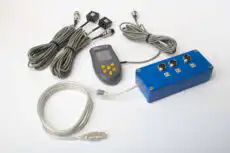
- Installering av målesystemet: For å måle rotorvibrasjon vibrasjon på dreiebenken, en bærbar balanseringsenhet som for eksempel Balanset-1A kan brukes. Den inneholder vibrasjonssensorer, en turteller, samt programvare for dataanalyse og beregning av korrigerende masse.
- Håndtering av spindelens egen ubalanse: Du trenger ikke å balansere selve dreiebenkspindelen. Kjør dreiebenken med bare chucken (rotor fjernet) og registrer vibrasjonsvektoren: det er grunnlinjen som bidras av spindelen og chucken. Hvis det er en betydelig andel av rotoravlesningen, kan du enten trekke den fra, eller — bedre — bruke 180°-indeksekjøringen (funksjonen “Eliminering av dornens eksentrisitet”, “F7 - Run Ecc”), som automatisk skiller ut alt som ikke roterer med rotoren.
- Å tilpasse rotoren til maskinen, ikke til spindelen: Det som betyr noe, er at rotorens ubalansekraft gir en målbar respons på lagerhusene. En tung, stiv dreiebenk responderer svært lite per gram ubalanse, så på en veldig lett rotor forsvinner signalet i støyen, mens en veldig tung rotor kan overstige den nominelle belastningen til chucken eller lagrene. I praksis, sjekk at en riktig dimensjonert prøvevekt gir en ren, repeterbar amplitude- og faseendring før du stoler på noen påvirkningskoeffisient.
- Kontroll av utløpet på gummibelegget før balansering: På en gummikledd aksel er masseubalanse og geometrisk kast i belegget to forskjellige feil. Balansering opphever 1×-kraften; den kan ikke gjøre et eksentrisk eller ovalt belegg rundt. Sett en måleklokke mot den belagte overflaten og roter akselen for hånd: hvis det totale indikerte kastet overstiger produkttoleransen, slip eller drei belegget konsentrisk først — på samme dreiebenk — og først da balanser. En aksel som er balansert, men fortsatt har kast, vil fortsette å produsere tykkelsesbånd, striper og variasjon i nip-trykket uansett hvor lav vibrasjonsavlesningen blir.
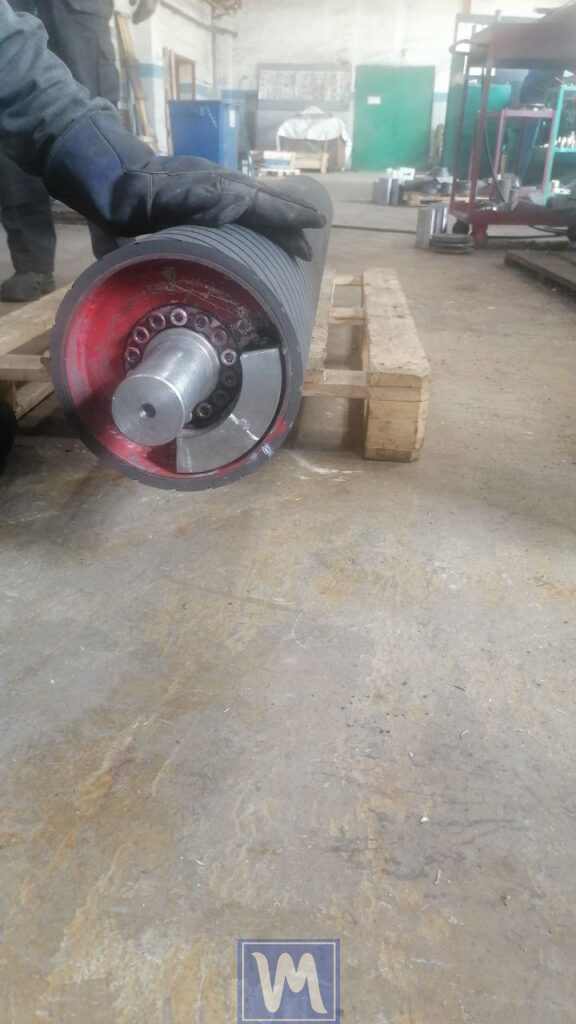
I denne artikkelen vil jeg redegjøre for våre erfaringer og vår metode i dynamisk balansering gummikledde aksler på en dreiebenk – en løsning jeg innrømmer jeg i utgangspunktet var skeptisk til på grunn av den iboende stivheten og den betydelige vekten til slike maskiner. Overraskende nok ble operasjonen utført sømløst, og oppnådde balansekvalitetsklasse G 6.3 (ISO 21940-11, tidligere ISO 1940-1).
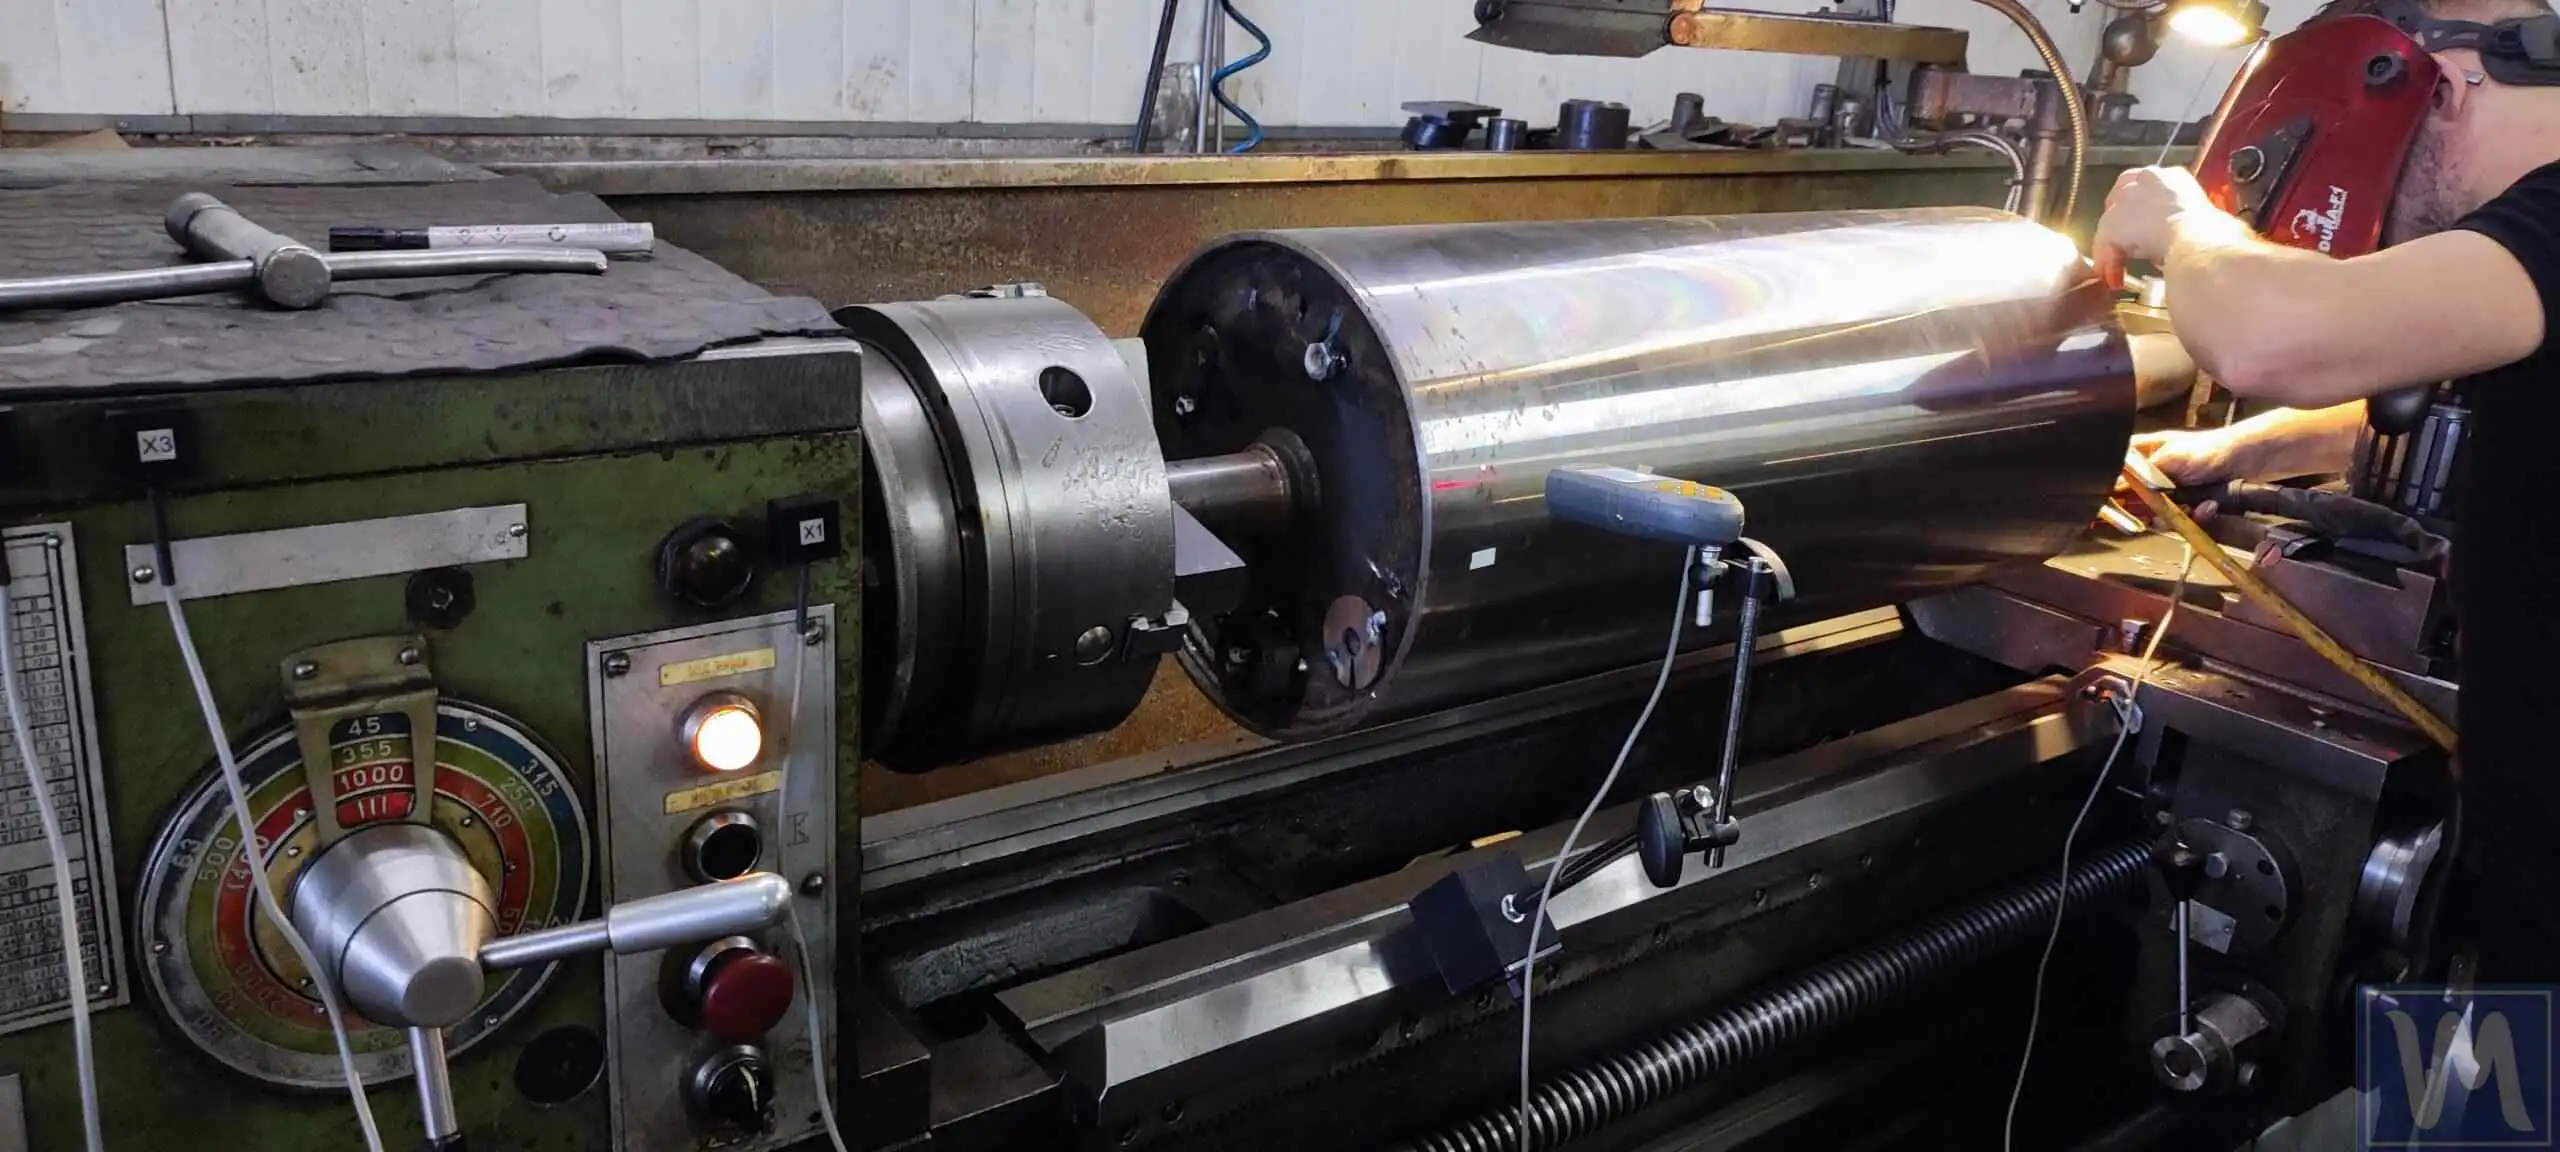
Teoretisk rotorbalanseringsprosess på en dreiebenk
Prosessen med rotorbalansering på en dreiebenk omfatter følgende trinn:
Sikring av rotoren
Rotoren er sikkert montert i dreiebenkchucken eller på sentre for å sikre stabilitet under avbalanseringsprosessen.
Installere sensorer
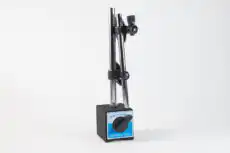
Monter én vibrasjonssensor per korreksjonsplan — én på hodedokkens lagerhus og én på motdokkens eller støttelunettens hus — radielt, så nær lageret som mulig, på en ren, bearbeidet metalloverflate via et magnetisk feste. Ikke monter sensorer på dreiebenkbedet, forkleet eller et vern: 1×-signalet der er dempet og dominert av strukturen. Fest reflekterende tape på en metallflate (akselenden eller chucken), ikke på gummibelegget, og rett lasertakometeret vinkelrett mot den.
Måling av innledende vibrasjoner
Det opprinnelige vibrasjonsnivået måles ved turtallet du kommer til å bruke gjennom hele jobben. Alle kjøringer — Run 0, prøvekjøringene og finjusteringskjøringen — må gjøres ved samme turtall, fordi influenskoeffisientene bare er gyldige for turtallet de ble målt ved.
Kompensasjon for eksentrisitet (umiddelbart etter Run 0)
Oppspenning og dor eksentrisitet legger til en vektor i Run 0-avlesningen som ikke er ubalanse, og å korrigere for den ville være feil. Håndter dette før prøvevekten, ikke etterpå: kryss av i avmerkingsboksen “Eliminering av dornens eksentrisitet” i Balanset-1A-programvaren, fullfør Run 0, roter deretter rotoren 180° i festeanordningen og trykk “F7 - Run Ecc”. Programvaren bruker vektorenes halvsum som eksentrisiteten og vektorenes halvdifferanse som den virkelige ubalansen, og først da låses prøvekjøringen opp. Hvis dette gjøres etter at korreksjonsvektene allerede er sveiset på, betyr det at de må beregnes og gjøres på nytt.
Hvor stor bør en prøvevekt være?
Et trygt utgangspunkt er en vekt hvis sentrifugalkraften holder seg innenfor 5–10 % av rotorvekten. Som formel:
mtrial = k · M · g / (R · ω²), k = 0.05–0.10
hvor M er rotormassen (kg), g = 9.81 m/s², R er monteringsradiusen til vekten (m), og ω = 2π·RPM/60 (rad/s). Eksempel: en 50 kg rotor ved 3 000 o/min der vekten er ved R = 0,2 m gir m ≈ 0.07·50·9.81/(0,2·314²) ≈ 1.7 g — gram, ikke hundrevis av gram. Det ser overraskende lite ut for en 50 kg rotor, men sjekk kraften: ved 3 000 rpm trekker de 1,7 g allerede med en kraft F = m·R·ω² ≈ 34 N — omtrent 7 % av rotorens vekt. Å starte lite er poenget: å øke er billig, mens en overdimensjonert vekt er en reell belastning på lagre og sveiser. Den samme kraftsjekken fungerer også omvendt for enhver vekt du er i ferd med å bolte på.
Du trenger ikke å beregne dette for hånd: Balanset-programvaren har en Estimator for første prøvevekt som anbefaler både massen og startvinkelen fra rotordataene dine, og en Bumptest for å kontrollere at du ikke arbeider nær en egenfrekvens.
En god prøvevekt endrer avlesningen med minst 20–30 % i amplitude eller 20–30° i fase. Hvis responsen er mindre, øk vekten trinnvis — hopp aldri rett til en tung vekt “for å se at noe skjer.”
Montering av prøvevekt
A prøvevekt med kjent masse installeres på rotoren, og vibrasjonen måles på nytt. For toplans balansering gjøres dette i hvert plan etter tur — en prøvekjøring med vekten i plan 1 (Run 1), deretter en prøvekjøring med vekten i plan 2 (Run 2) — slik at programvaren kan måle innflytelsen fra hvert korreksjonsplan separat.
Beregning av korrigerende masser
Balanset-1A-programvaren analyserer måleresultatene og beregner de nødvendige korrigerende massene og deres plasseringsvinkler.
Korrigering av rotormasse
Avhengig av rotorens konstruksjon og dreiebenkens kapasitet kan massekorrigering utføres ved boring, fresing, sveising eller andre metoder.
Verifisering av balanseringen
Etter at korreksjonene er utført, foretas en kontrollmåling av vibrasjonene. Prosessen gjentas om nødvendig til ønsket balansenivå er oppnådd.
Dynamisk balansering i praksis
- Rotasjonsfrekvens: Vanligvis ligger driftsturtallet til disse akslene mellom 300 og 500 omdreininger per minutt (rpm). I dette konkrete tilfellet utførte vi balanseringen ved 550 rpm.
- Oppsett: Den gummibelagte akselen ble montert på dreiebenken, etterfulgt av strategisk plassering av sensorer, som vist på de medfølgende fotografiene.
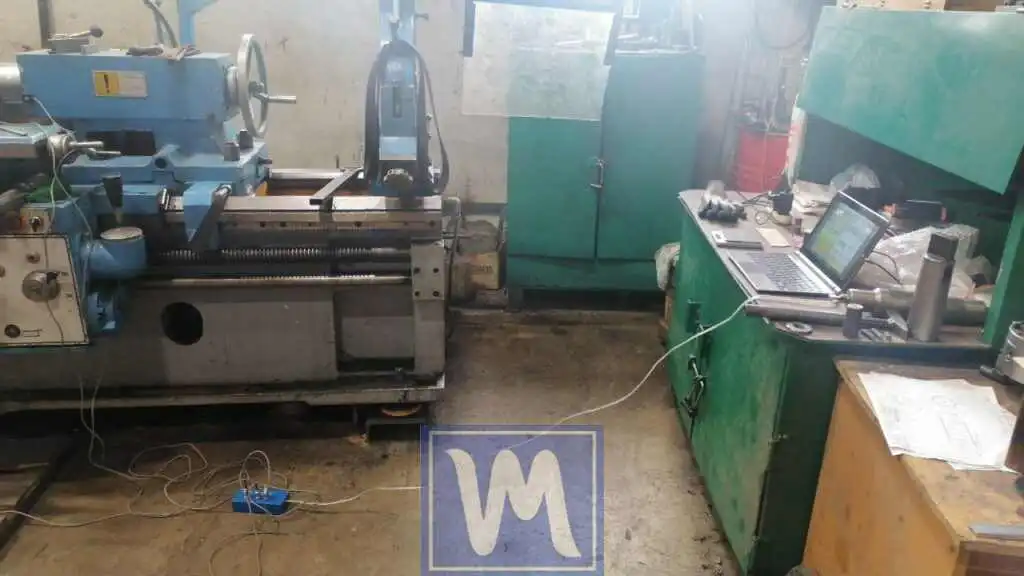
Dynamisk balansering av gummierte aksler på stedet ved hjelp av en dreiebenk
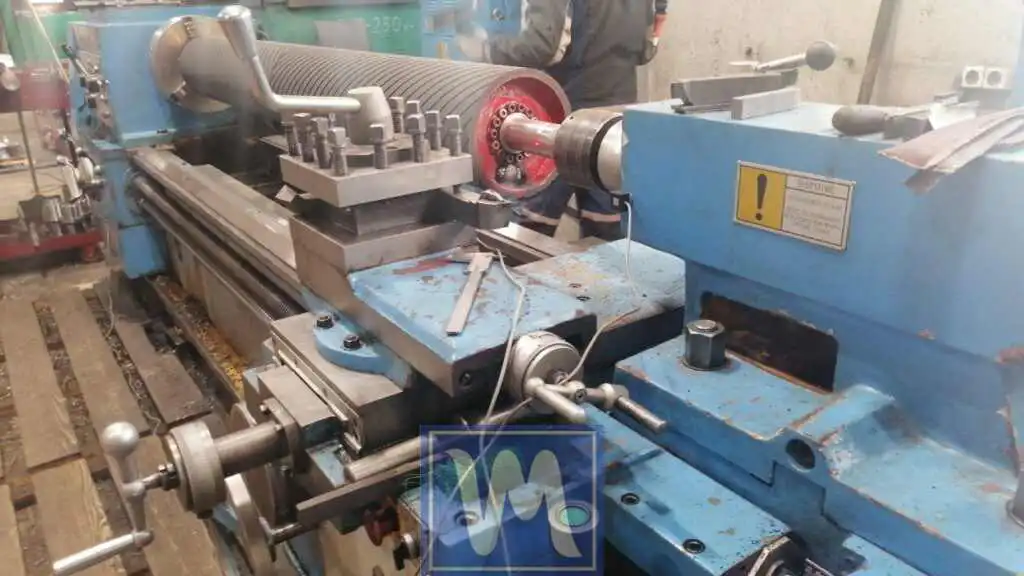
Dynamisk balansering av gummierte aksler
- Innledende vibrasjonsmålinger: Før balansering første vibrasjonsavlesningene lå på 9 mm/s og 17 mm/s.
- Prøvekjøringer: En jobb med to plan krever en prøvekjøring i hvert plan etter tur — Run 1 med vekten i plan 1, deretter Run 2 med vekten i plan 2. En prøvevekt på 340 gram ble sveiset på; den endret vibrasjonen og fase avlesningene med omtrent 10 %. Behandle en slik respons som et absolutt minimum: for en klar, pålitelig måling sikter vi vanligvis mot en prøvevekt som forskyver vibrasjonsvektoren med 25–50 %, men en tung, stiv dreiebenk reagerer svært lite per gram prøvemasse.
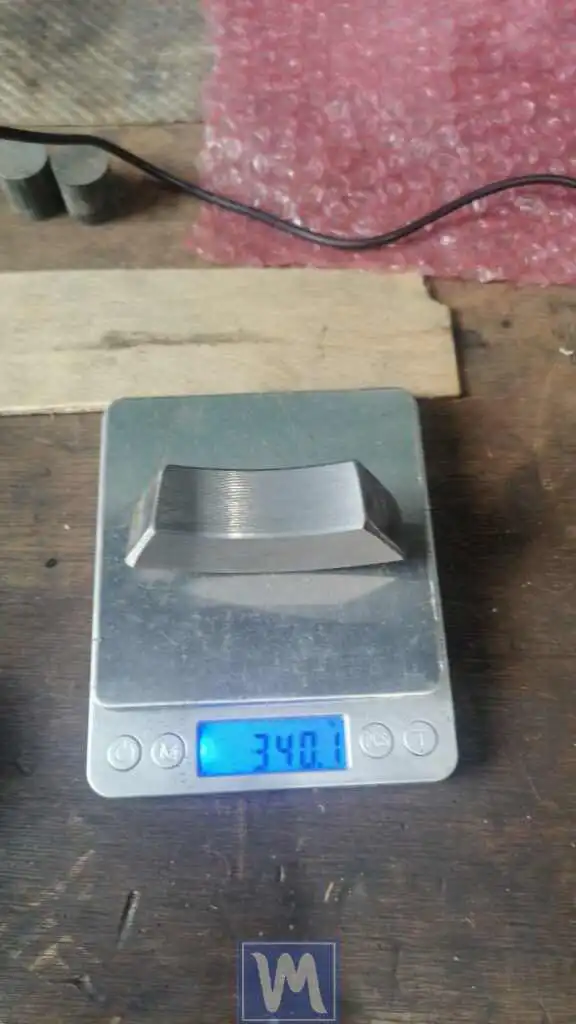
- Balanseringsjusteringer: Etter prøvekjøringene med prøvevekten viste vårt Balanset-1A-instrument behov for å tilføre 3100 gram på den ene siden av akselen og 4300 gram på den andre, tilsvarende korreksjoner i to plan. Etter disse justeringene sank vibrasjonsnivåene til 2 mm/s og 4 mm/s.
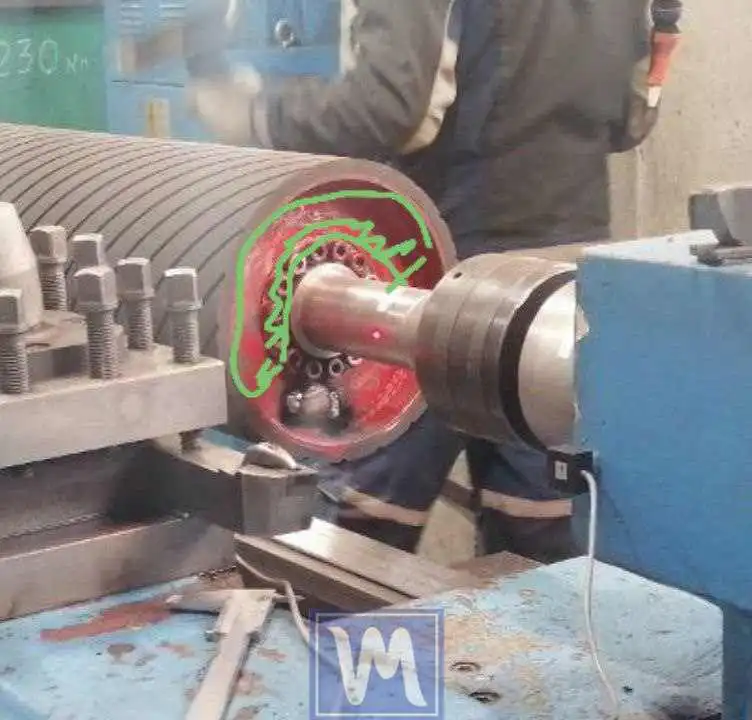
Dynamisk balansering av gummierte aksler på stedet ved hjelp av en dreiebenk
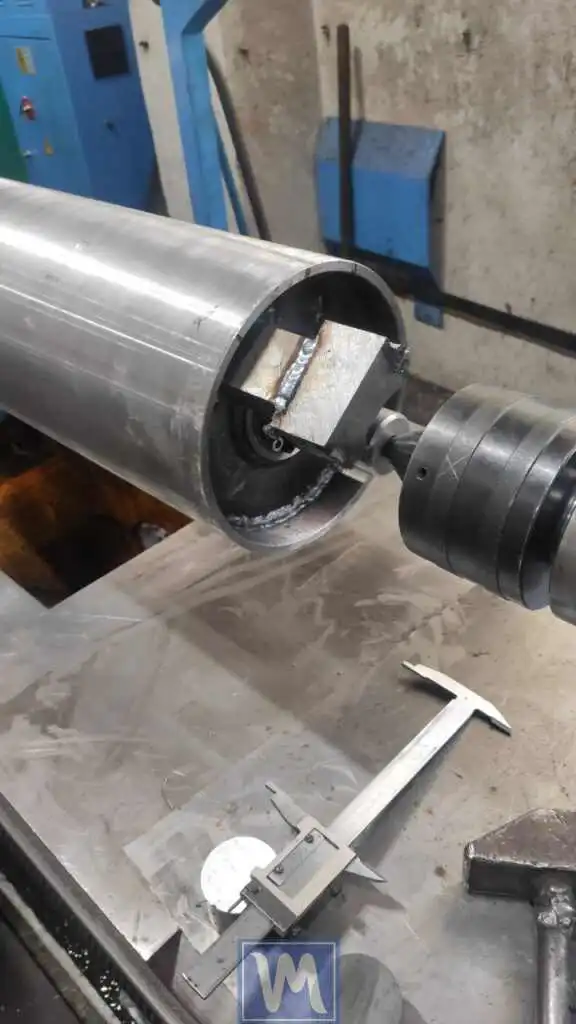
Dynamisk balansering av gummierte aksler på stedet ved hjelp av en dreiebenk
- Finjustering: For å optimalisere resultatene ytterligere gikk vi videre og la til vekter på 400 gram og 700 gram. Deretter ble det utført enda en finjusteringsrunde ved å legge til 200 gram og 400 gram. På grunn av plassbegrensninger ble vektene sveiset oppå hverandre. Til slutt ble disse midlertidige vektene erstattet med presisjonskuttede, estetisk tiltalende motvekter laget spesielt for denne akselen. De endelige vibrasjonsavlesningene var imponerende 0,1 mm/s i begge plan (et avrundet tall — under 1 mm/s viser instrumentet selv avlesninger med tre desimaler).
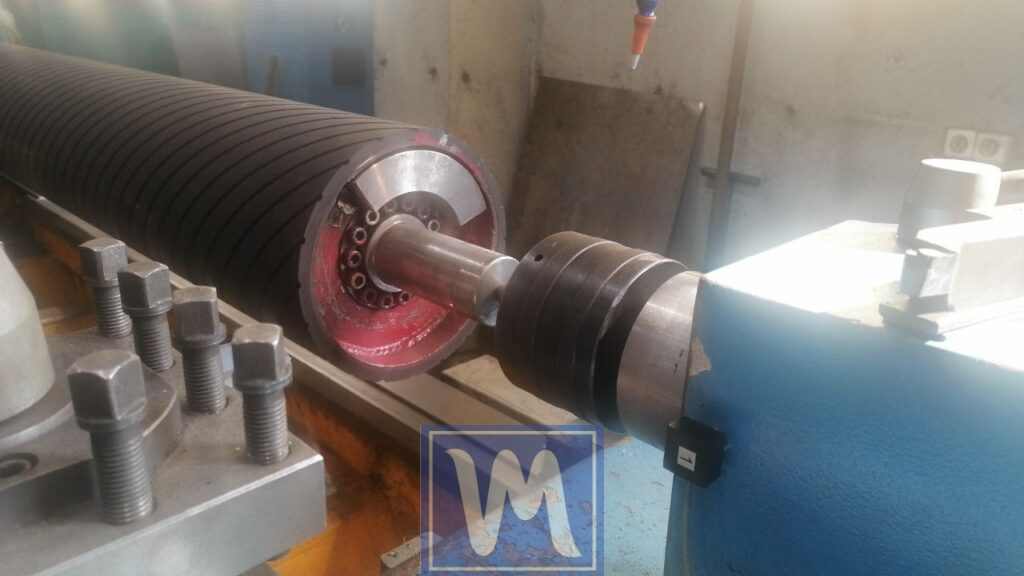
Dynamisk balansering av gummierte aksler på stedet ved hjelp av en dreiebenk
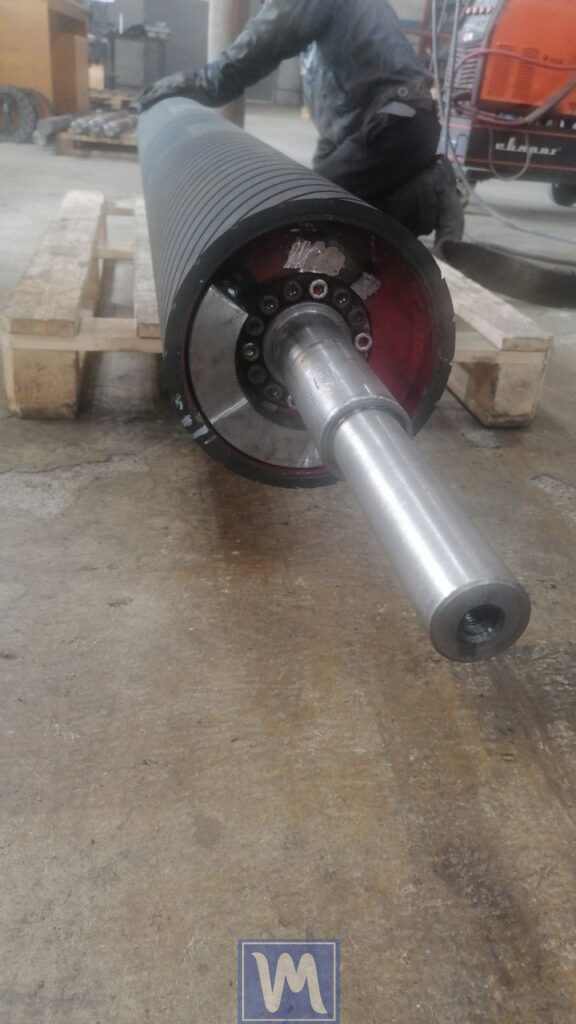
Dynamisk balansering av gummierte aksler på stedet ved hjelp av en dreiebenk
Dynamisk balansering av gummierte aksler på stedet ved hjelp av en dreiebenk

Fordeler med rotorbalansering på dreiebenk
Kostnadseffektivitet
Ved å bruke en dreiebenk til balansering unngår du å måtte kjøpe spesialisert balanseringsutstyr.
Bekvemmelighet
Balanseringen kan utføres direkte under produksjonsprosessen av rotoren, noe som reduserer produksjonstiden.
Høy kvalitet
Moderne bærbare avbalanseringsmaskiner, som Balanset-1A, gir høy avbalanseringsnøyaktighet, noe som muliggjør lave vibrasjonsnivåer og forbedret produktkvalitet.
Konklusjon
Rotorbalansering på dreiebenker er en effektiv og økonomisk løsning for bedrifter som ønsker å forbedre produktkvaliteten og redusere produksjonskostnadene. Bruk av bærbare avbalanseringsmaskiner som Balanset-1A gjør denne prosessen enkel og tilgjengelig, selv for små verksteder.
Viktige påminnelser
- For å oppnå best mulig resultat anbefales det å bruke måleinstrumenter av høy kvalitet og følge balanseringsprosedyren nøye. Du kan beregne den tillatte gjenværende ubalanse tillatte restubalansen for rotoren din med vår Kalkulator for restubalanse (ISO 1940).
Balansering av rotorer på dreiebenker er et skritt mot fremtiden for produksjonen din, og det lønner seg i form av forbedret produktkvalitet, reduserte kostnader og økt konkurransekraft for virksomheten din.

Nikolai Shelkovenko
Nikolai Shelkovenko er vibrasjonsanalyseingeniør samt grunnlegger og daglig leder i Vibromera. I mer enn 15 år har han balansert roterende utstyr ute i felt i stedet for på en prøvebenk: mulchmaskiner, industrivifter, knusere, sentrifuger, aksler og spindler. Det er ut av dette arbeidet Balanset-instrumentene har vokst — de ble utformet som et verktøy en fagperson kan ta med til maskinen og bruke alene på stedet, ikke som laboratorieutstyr. Vibromera ble grunnlagt i 2017 og har siden 2023 hatt base i Porto i Portugal. Utvikling, montering og støtte for Balanset-serien skjer her. Flaggskipet er Balanset-1A, en bærbar analysator for balansering i ett og to plan og for vibrasjonsdiagnostikk. Nikolai deltar personlig i kundestøtten, i arbeidet med vanskelige balanseringssaker og i utviklingen av programvaren. Han jobber med kunder over hele verden, på alle språk.


0 Kommentarer